
Madi Diaz – Senior Fiber Major
Pedagogy of Light – Bacteria Cellulose 2023
wood, bacteria cellulose, cutch dye
Process
We started growing our final pellicle in early October and began the process of cleaning and drying them in at the end of the month. Growing my piece in the large container had its risks due to the fact that those containers cannot be autoclaved. The sterilization process was very intensive, including thoroughly washing the container with soap and warm water, spraying it down with alcohol, putting it under the UV light for several cycles, all while maintaining sterile work space.
After the cellulose grew, mine was very contaminated with a greyish unidenfied mold that was water resistant. I skipped the first two days of washing and soaked my peillicle in a sodium hydroxide bath instead. On the fourth day I began picking off the mold. By the fifth day it was safe enough to wash with soap and water, the rest of the mold slid off easily, and the pellicle soaked in water for two days.
After the washing process I dyed the peillicle in a warm water bath of cutch (a reddish dye from acacia bark), and the color took very well. I then dryed the pelicle on a mesh drying rack which took about a week. It dried very unevenly, causing some parts to become lumpy and raised while others remained flat. I remedied this by spraying it evenly with water and ironing on a low setting. Once this was done it was time to assemble the project.


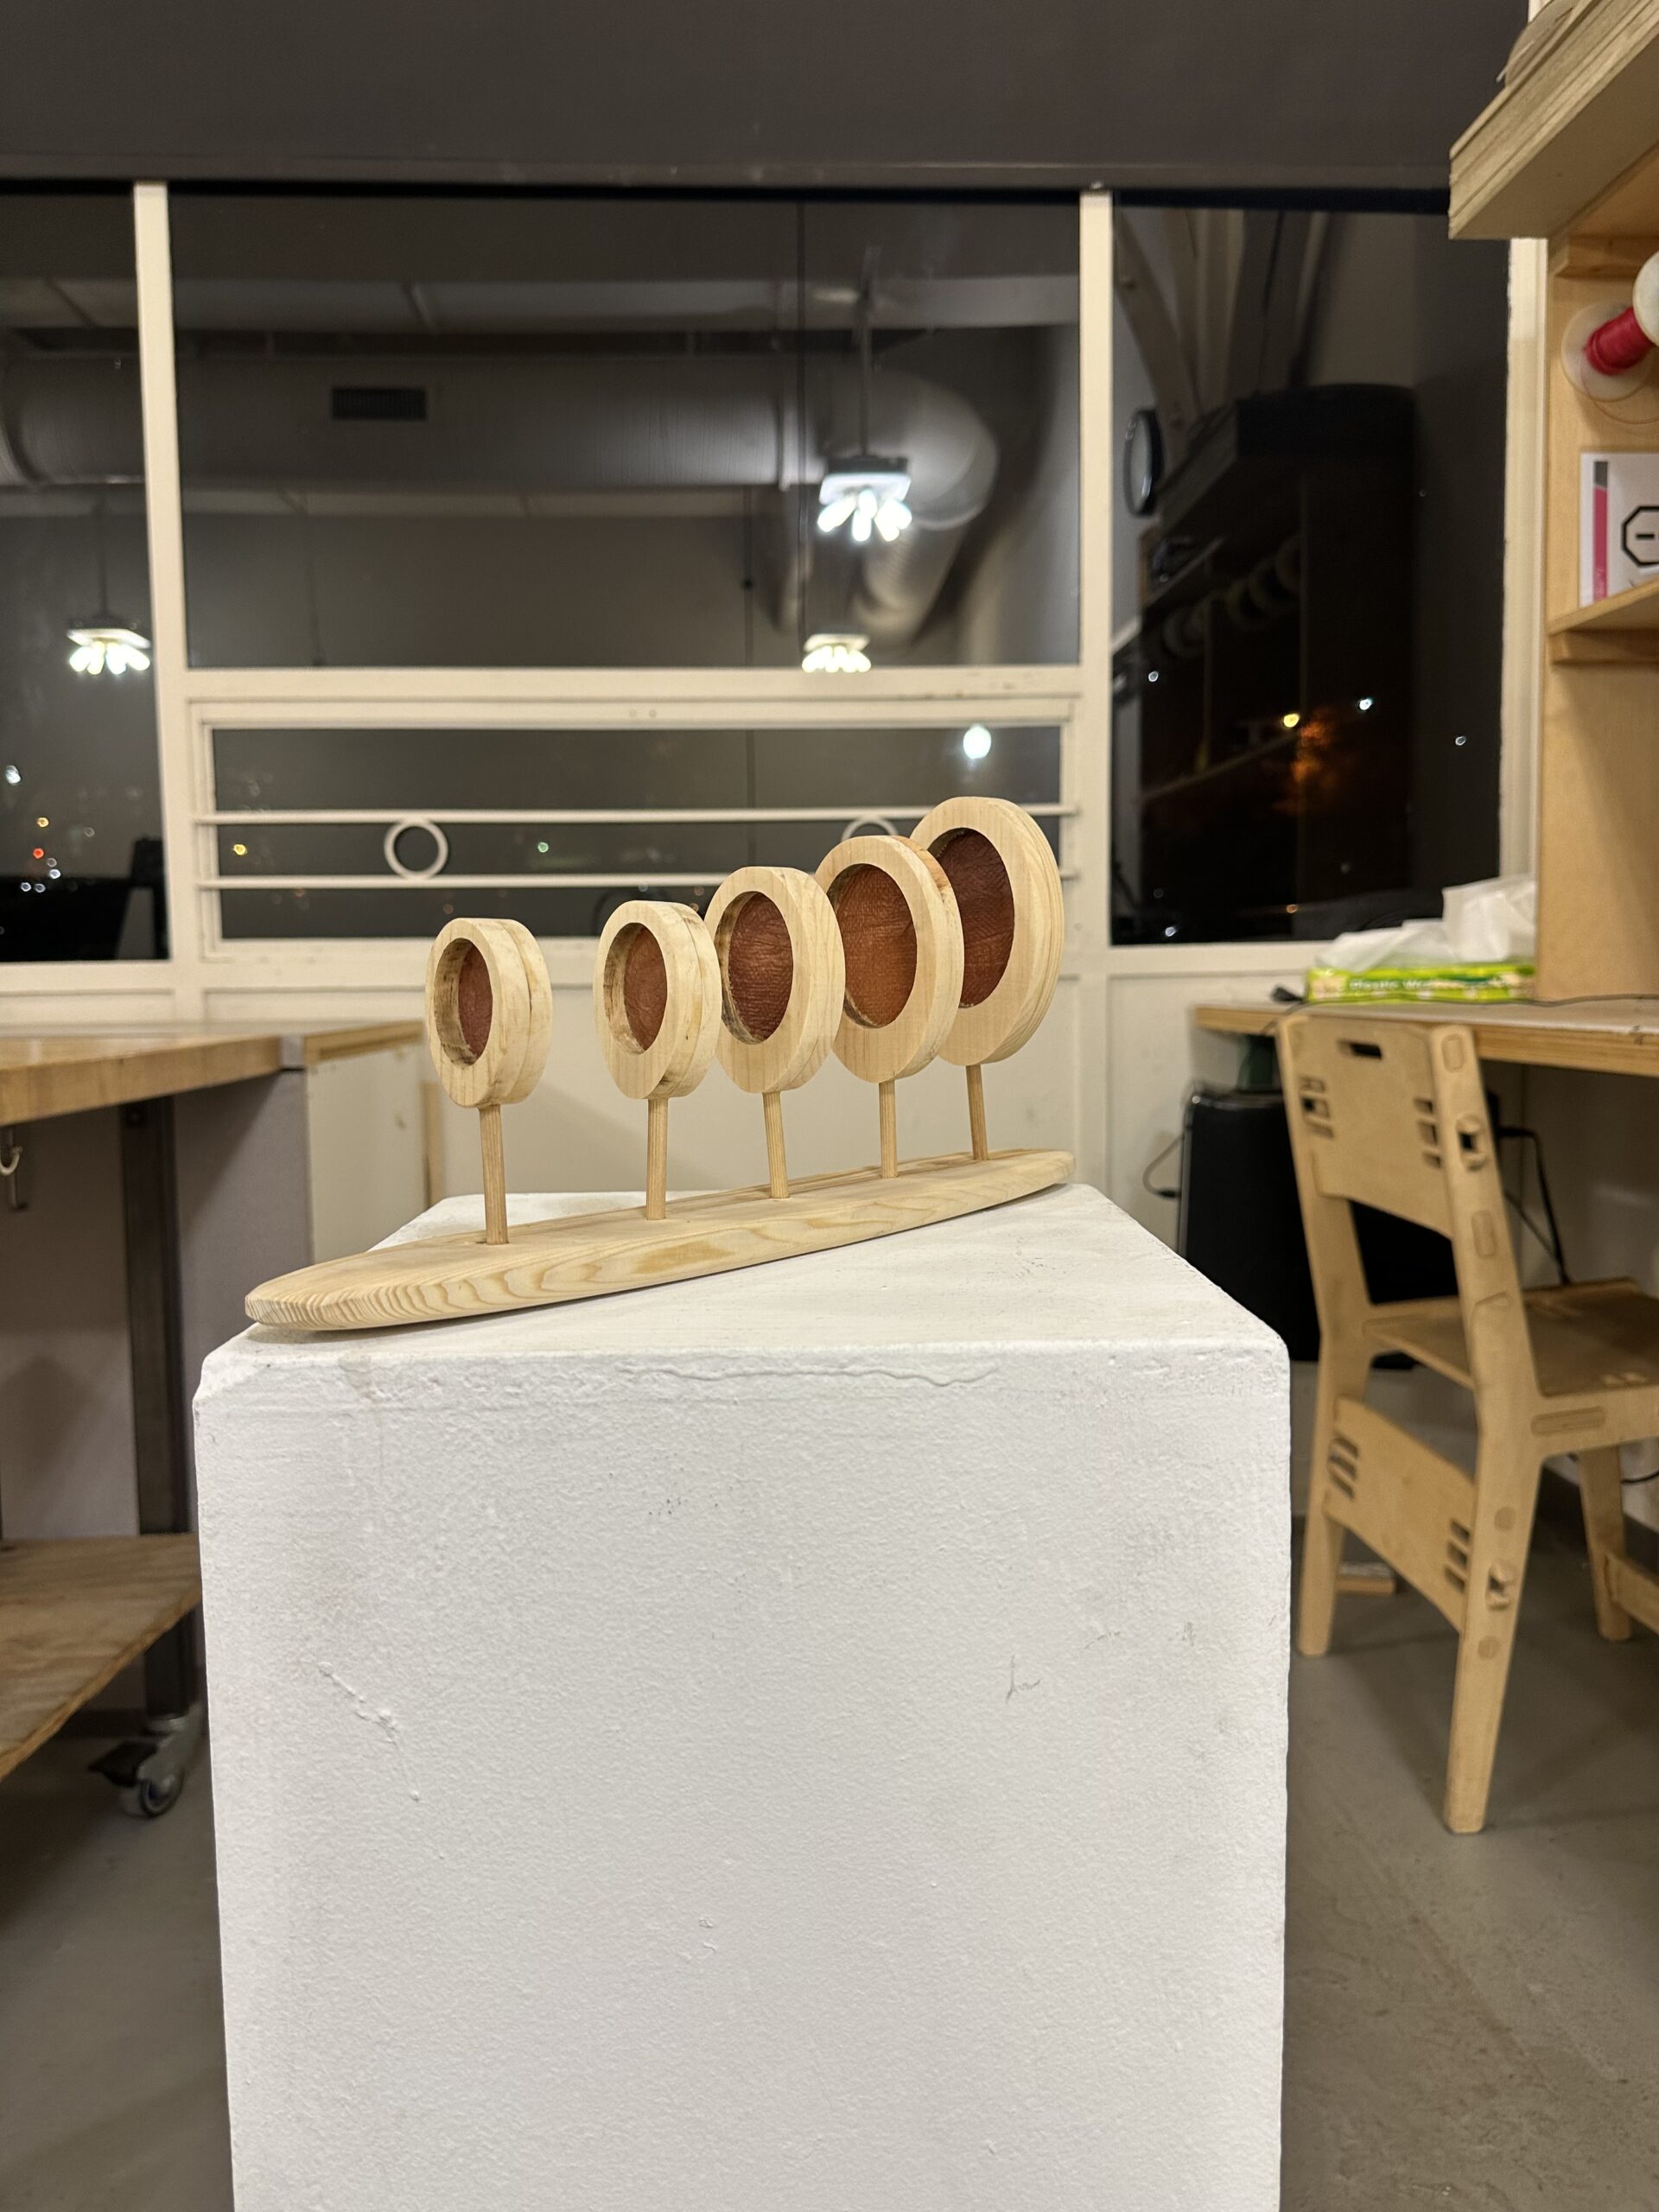
Assembly
I used the laser cutter to cut out the oval shaped wooden pieces that will encase the cellulose. Sandwiching the cellulose in two layers of wood and glue, resembling a monocle.
I used 1/2″ pine with settings:
P: 100%
S: 2
Afterwards I used a dremmel and standing sander to remove the burnt laser edge. I also used the sander to shape the base where the ovals will be attached, making sure to sand both sides and producing an edge that is slightly lifted from the surface insinuating it is to be handled. I then used the dremmel to make small holes i the ovals and base, where i then placed glue and inserted pegs.
After 24 hours the project was done.

