
Kate Boyer, Interdisciplinary Sculpture Major, Sustainability and Social Practices Minor, 2024
Project Overview
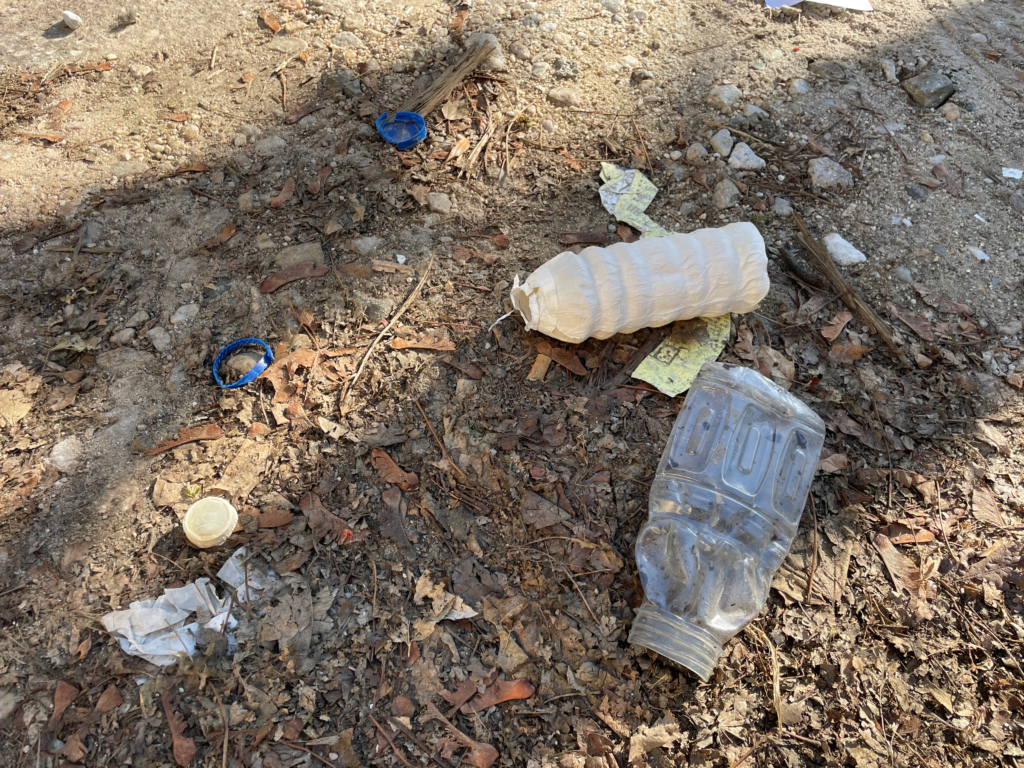
A replica of a disposable plastic water bottle, this project is a commentary on general waste and pollution we often ignore, in addition to the waste from the sustainable goods industry.
Process
Making the Mold
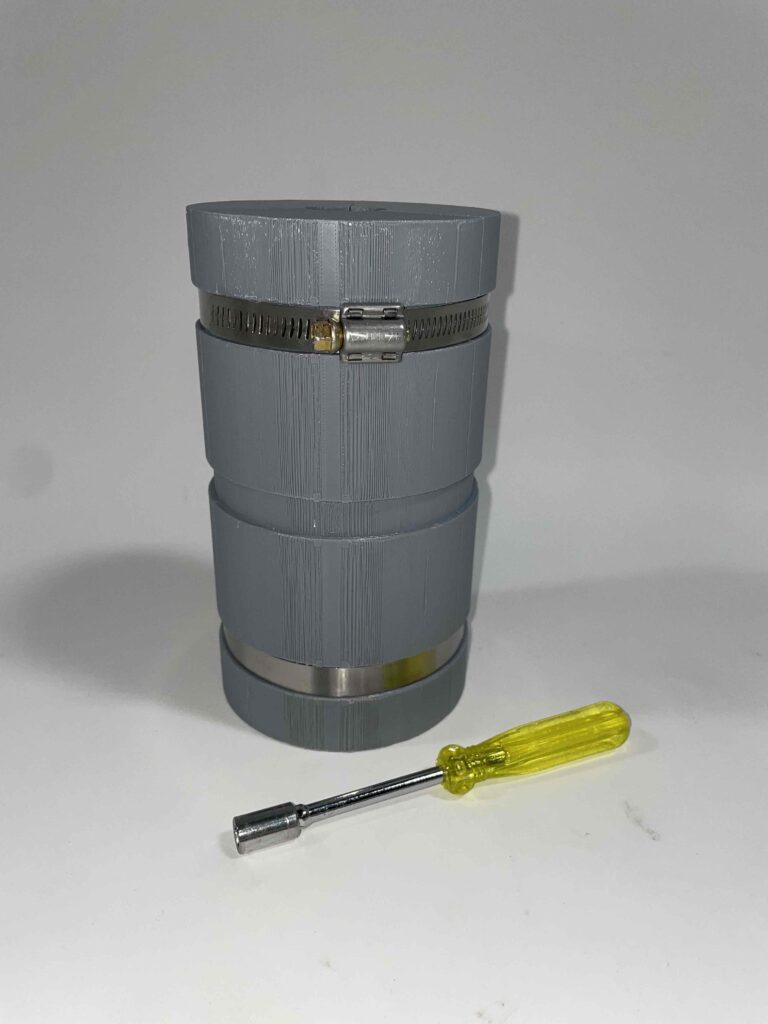
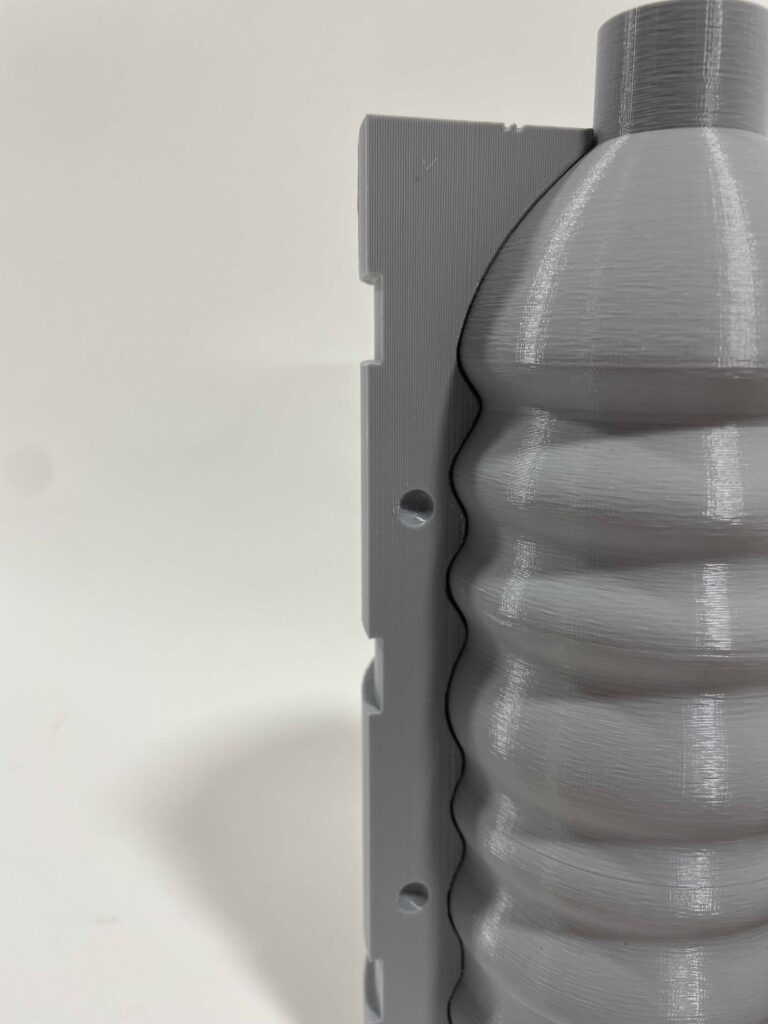
I 3D modeled a 4 part mold in Rhino and printed a test chunk to make sure my hose clamps fit in their insets and that the keyholes worked properly.
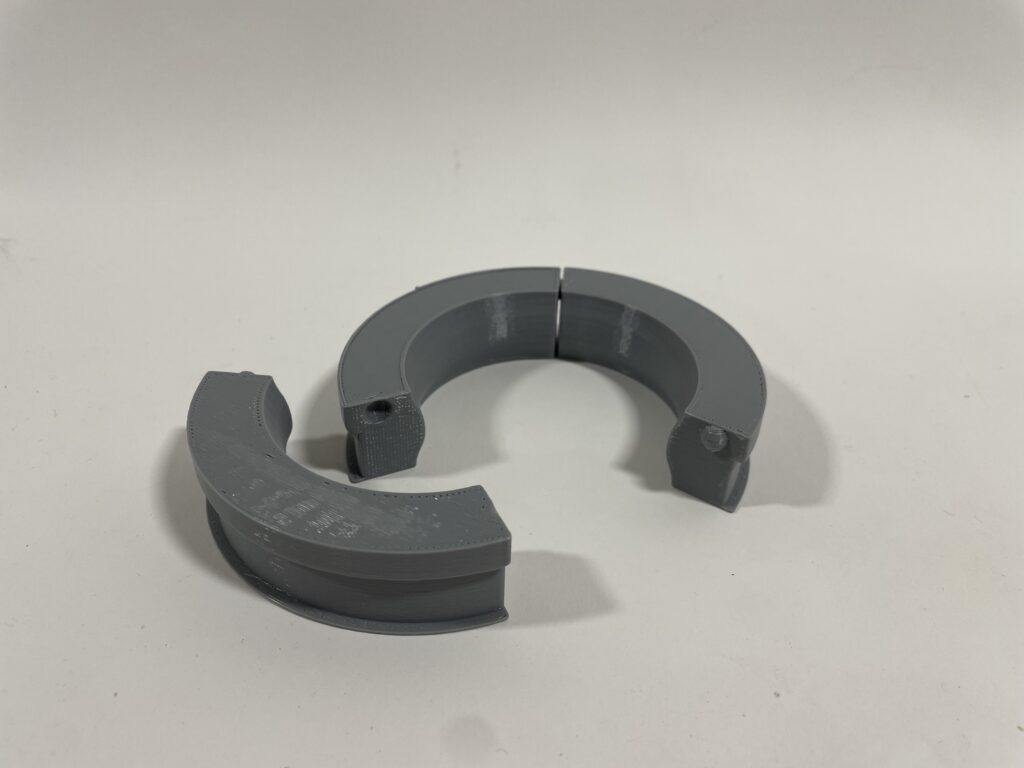
I then printed each full piece on a separate bed to minimize the failure risk. After nearly 24 hours of printing I learned that my internal piece was slightly too large, leaving too narrow of a margin for the cellulose to fit into. I decided to try using it anyway, not wanting to wait 14 more hours for another bottle to print. I used a spade bit to enlarge the bottom hole to help drainage.

Making the Bottle
At this point I turned to my cellulose. It was about 0.5in thick, which was way too thick to put in my mold, so I rolled it up and squeezed it really hard. This method actually worked better than I thought. I placed it on a piece of wood so it could pull out more of the cyclomethicone/IPA. Next I tried to squeeze more out and started to work it like I would pie dough, starting from the center and pushing outwards, changing spots and alternating sides each time. I was excited about the amount of stretch I was able to get(at least an inch), but spoiler! It shrank back to its original size after it dried.
I chose to reprint my internal bottle on the new PRUSA MK4 which cut the printing time in half and was just fun to set up. Unfortunately, I arbitrarily scaled my model down resulting in a print too small for my mold. 🙁
I wrapped my original bottle in the cellulose and placed my outer molds around it and began clamping the cyclomethicone out. I had remove the hose clamp and rotate the mold pieces after each round of squeeze out. I also would smooth out wrinkles with my thumbs. This continued until the outer mold’s keys fit together. I found that wearing gloves was productive because it prevented fingerprints and eased the smoothing process.
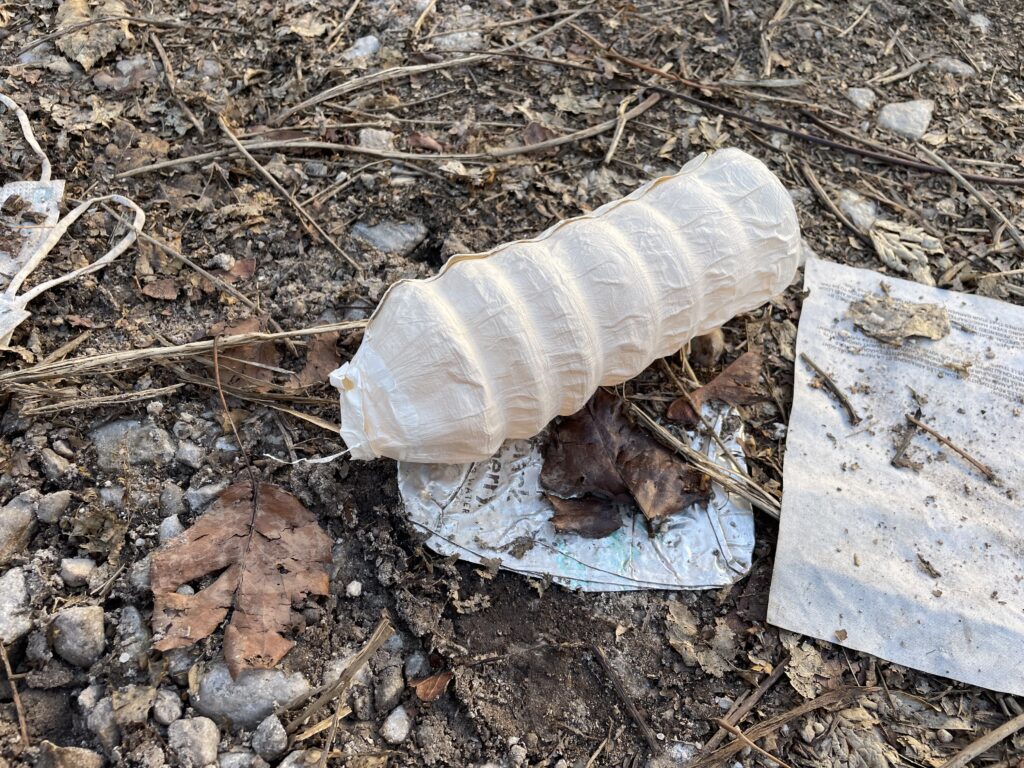
I let it sit out for 28 hours and I put rubber bands on all of the crevices in an effort to keep the indents. By the time I returned to it, it had shrunk back to size of original pellicle 🙁 Since the rectangular pellicle wasn’t tall enough I cut a hole out of circle pellicle that I had, pulled it over the top of the bottle mold hoping it would stick. For the most part it stuck, except for a little on one edge. I was disappointed that the texture wrinkled so much, but it’s grown on me and now I like it.
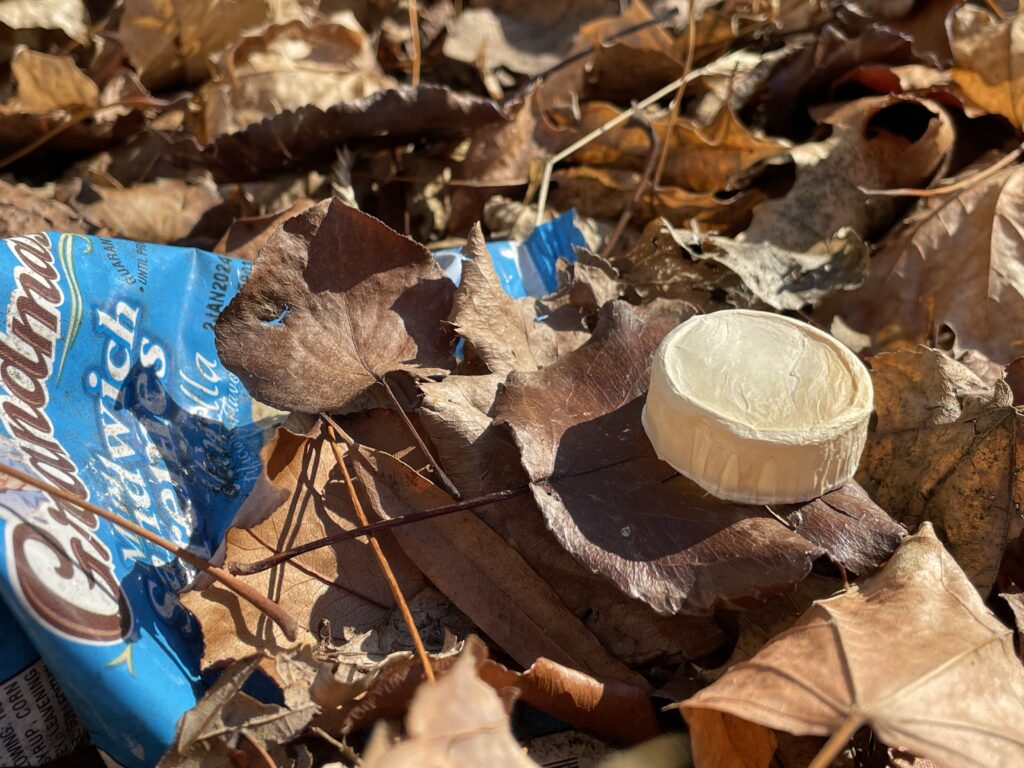
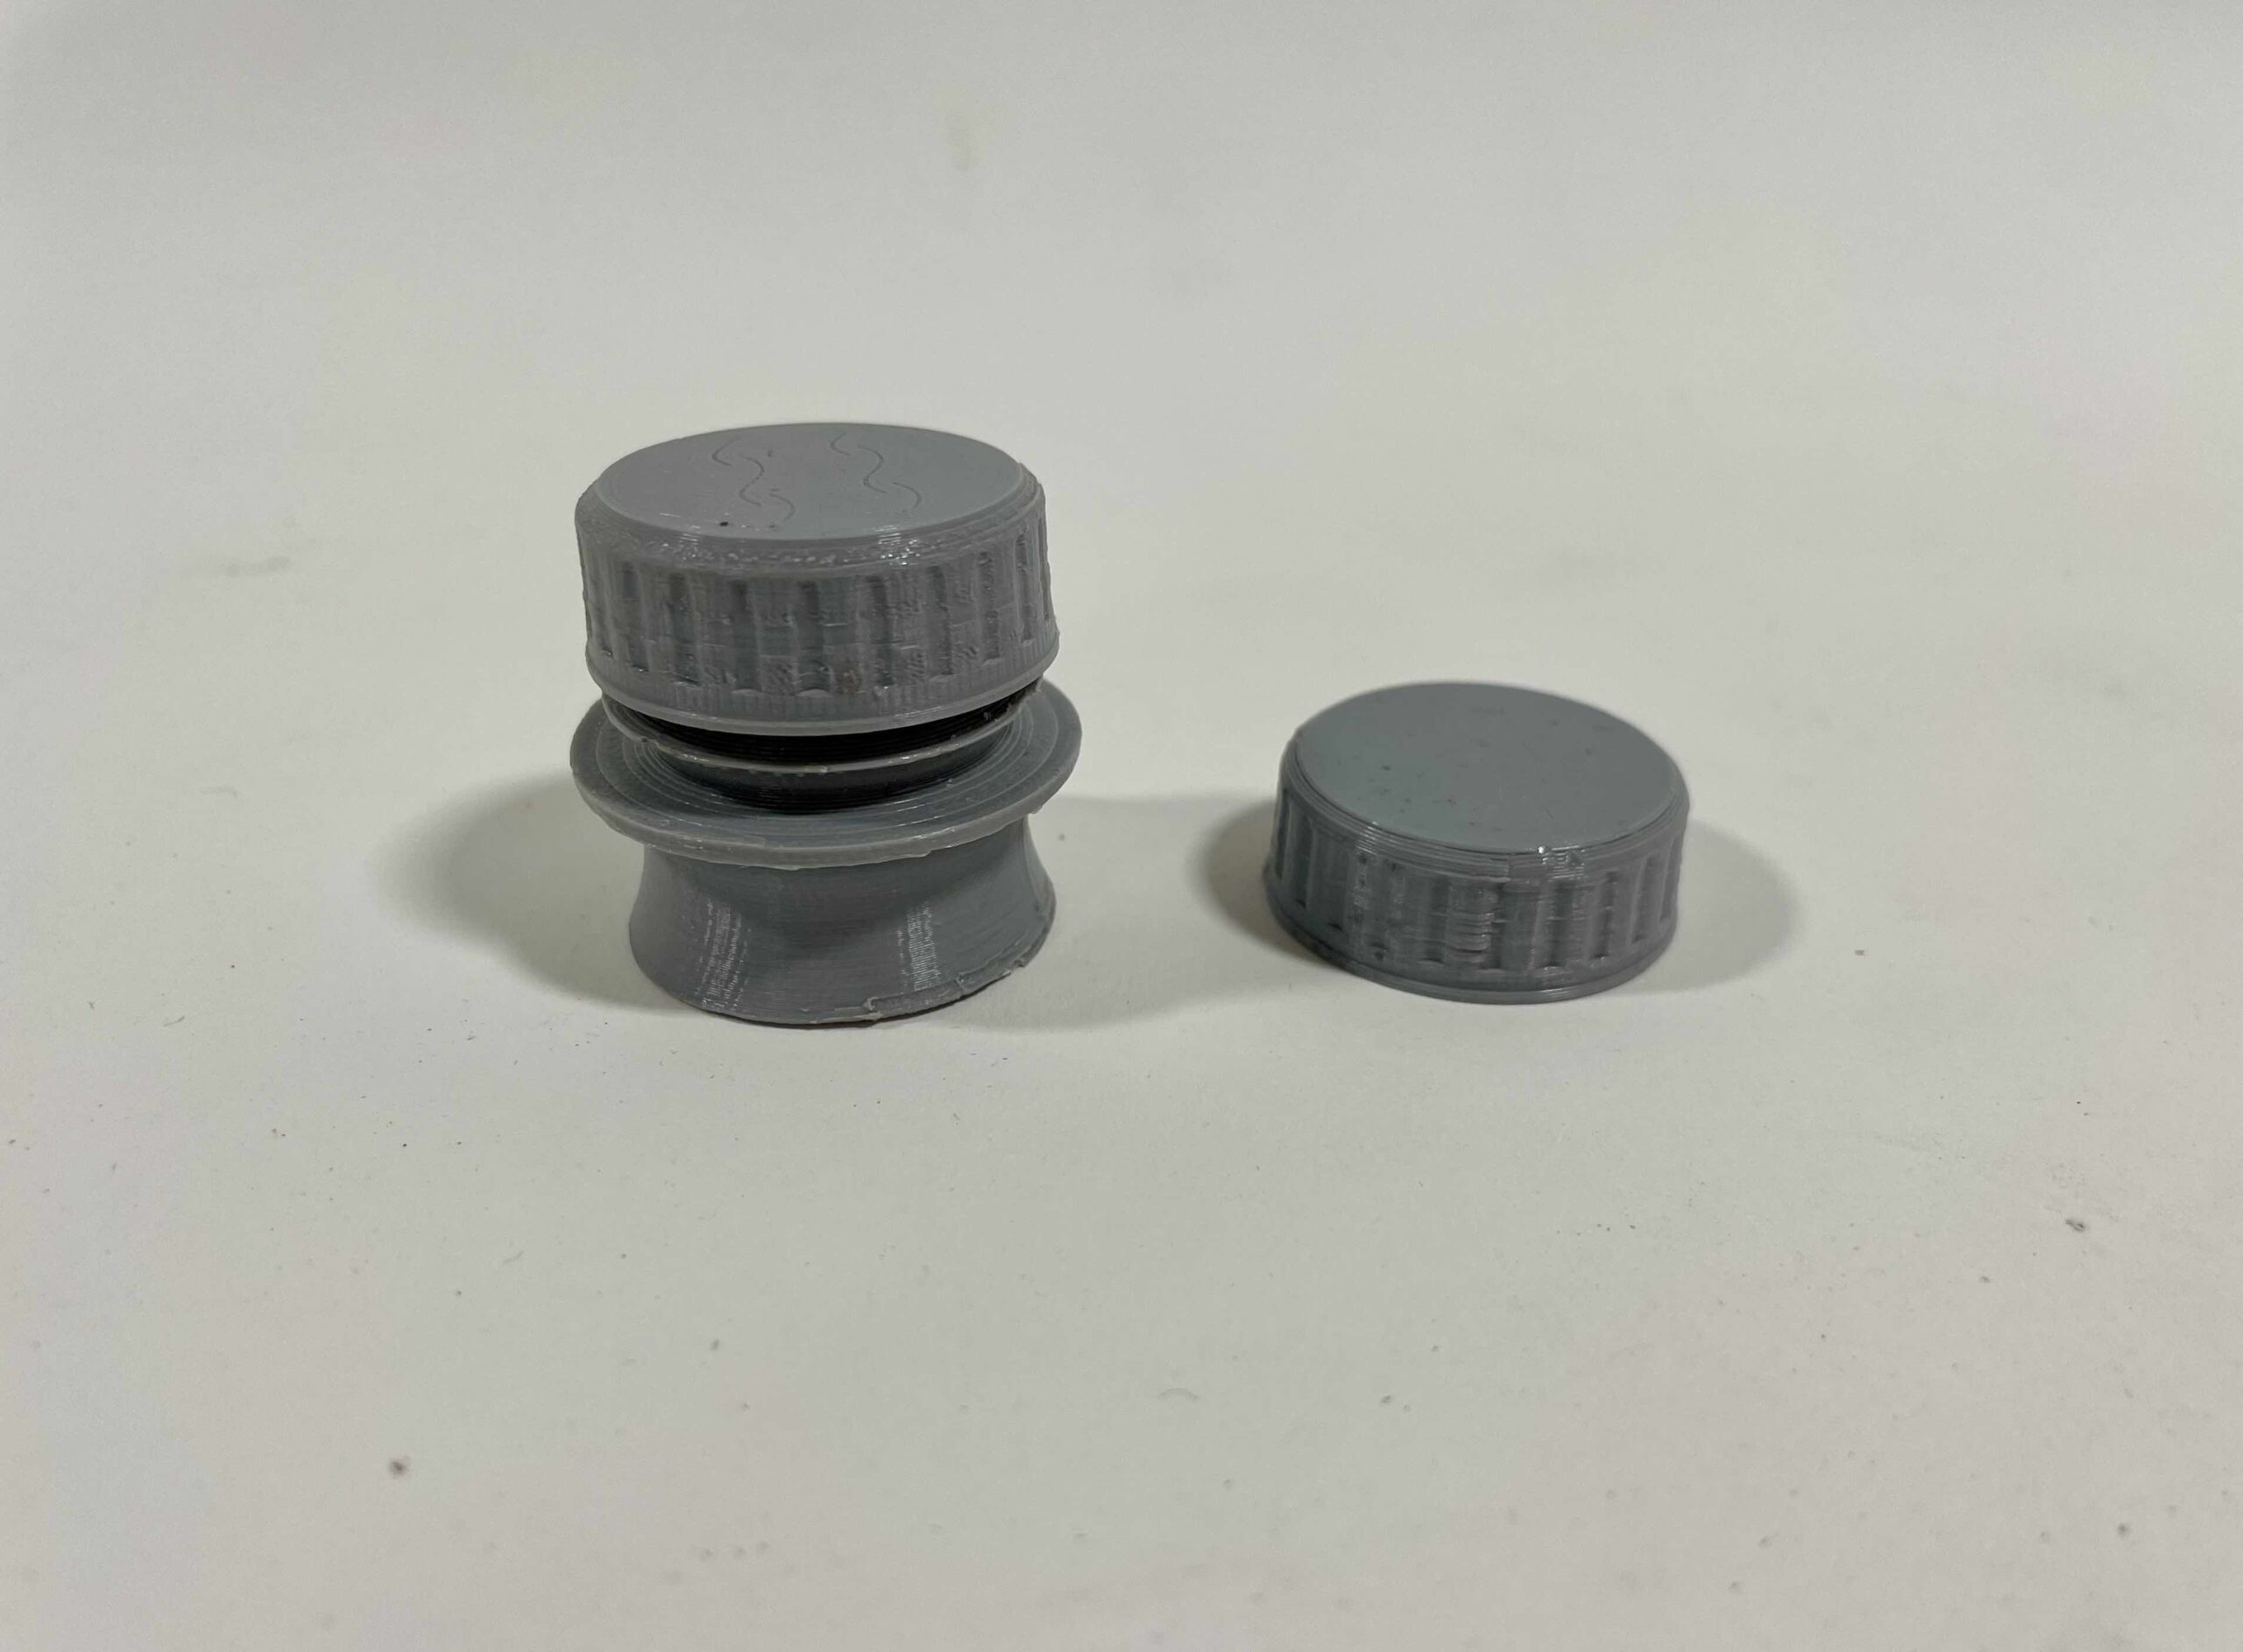
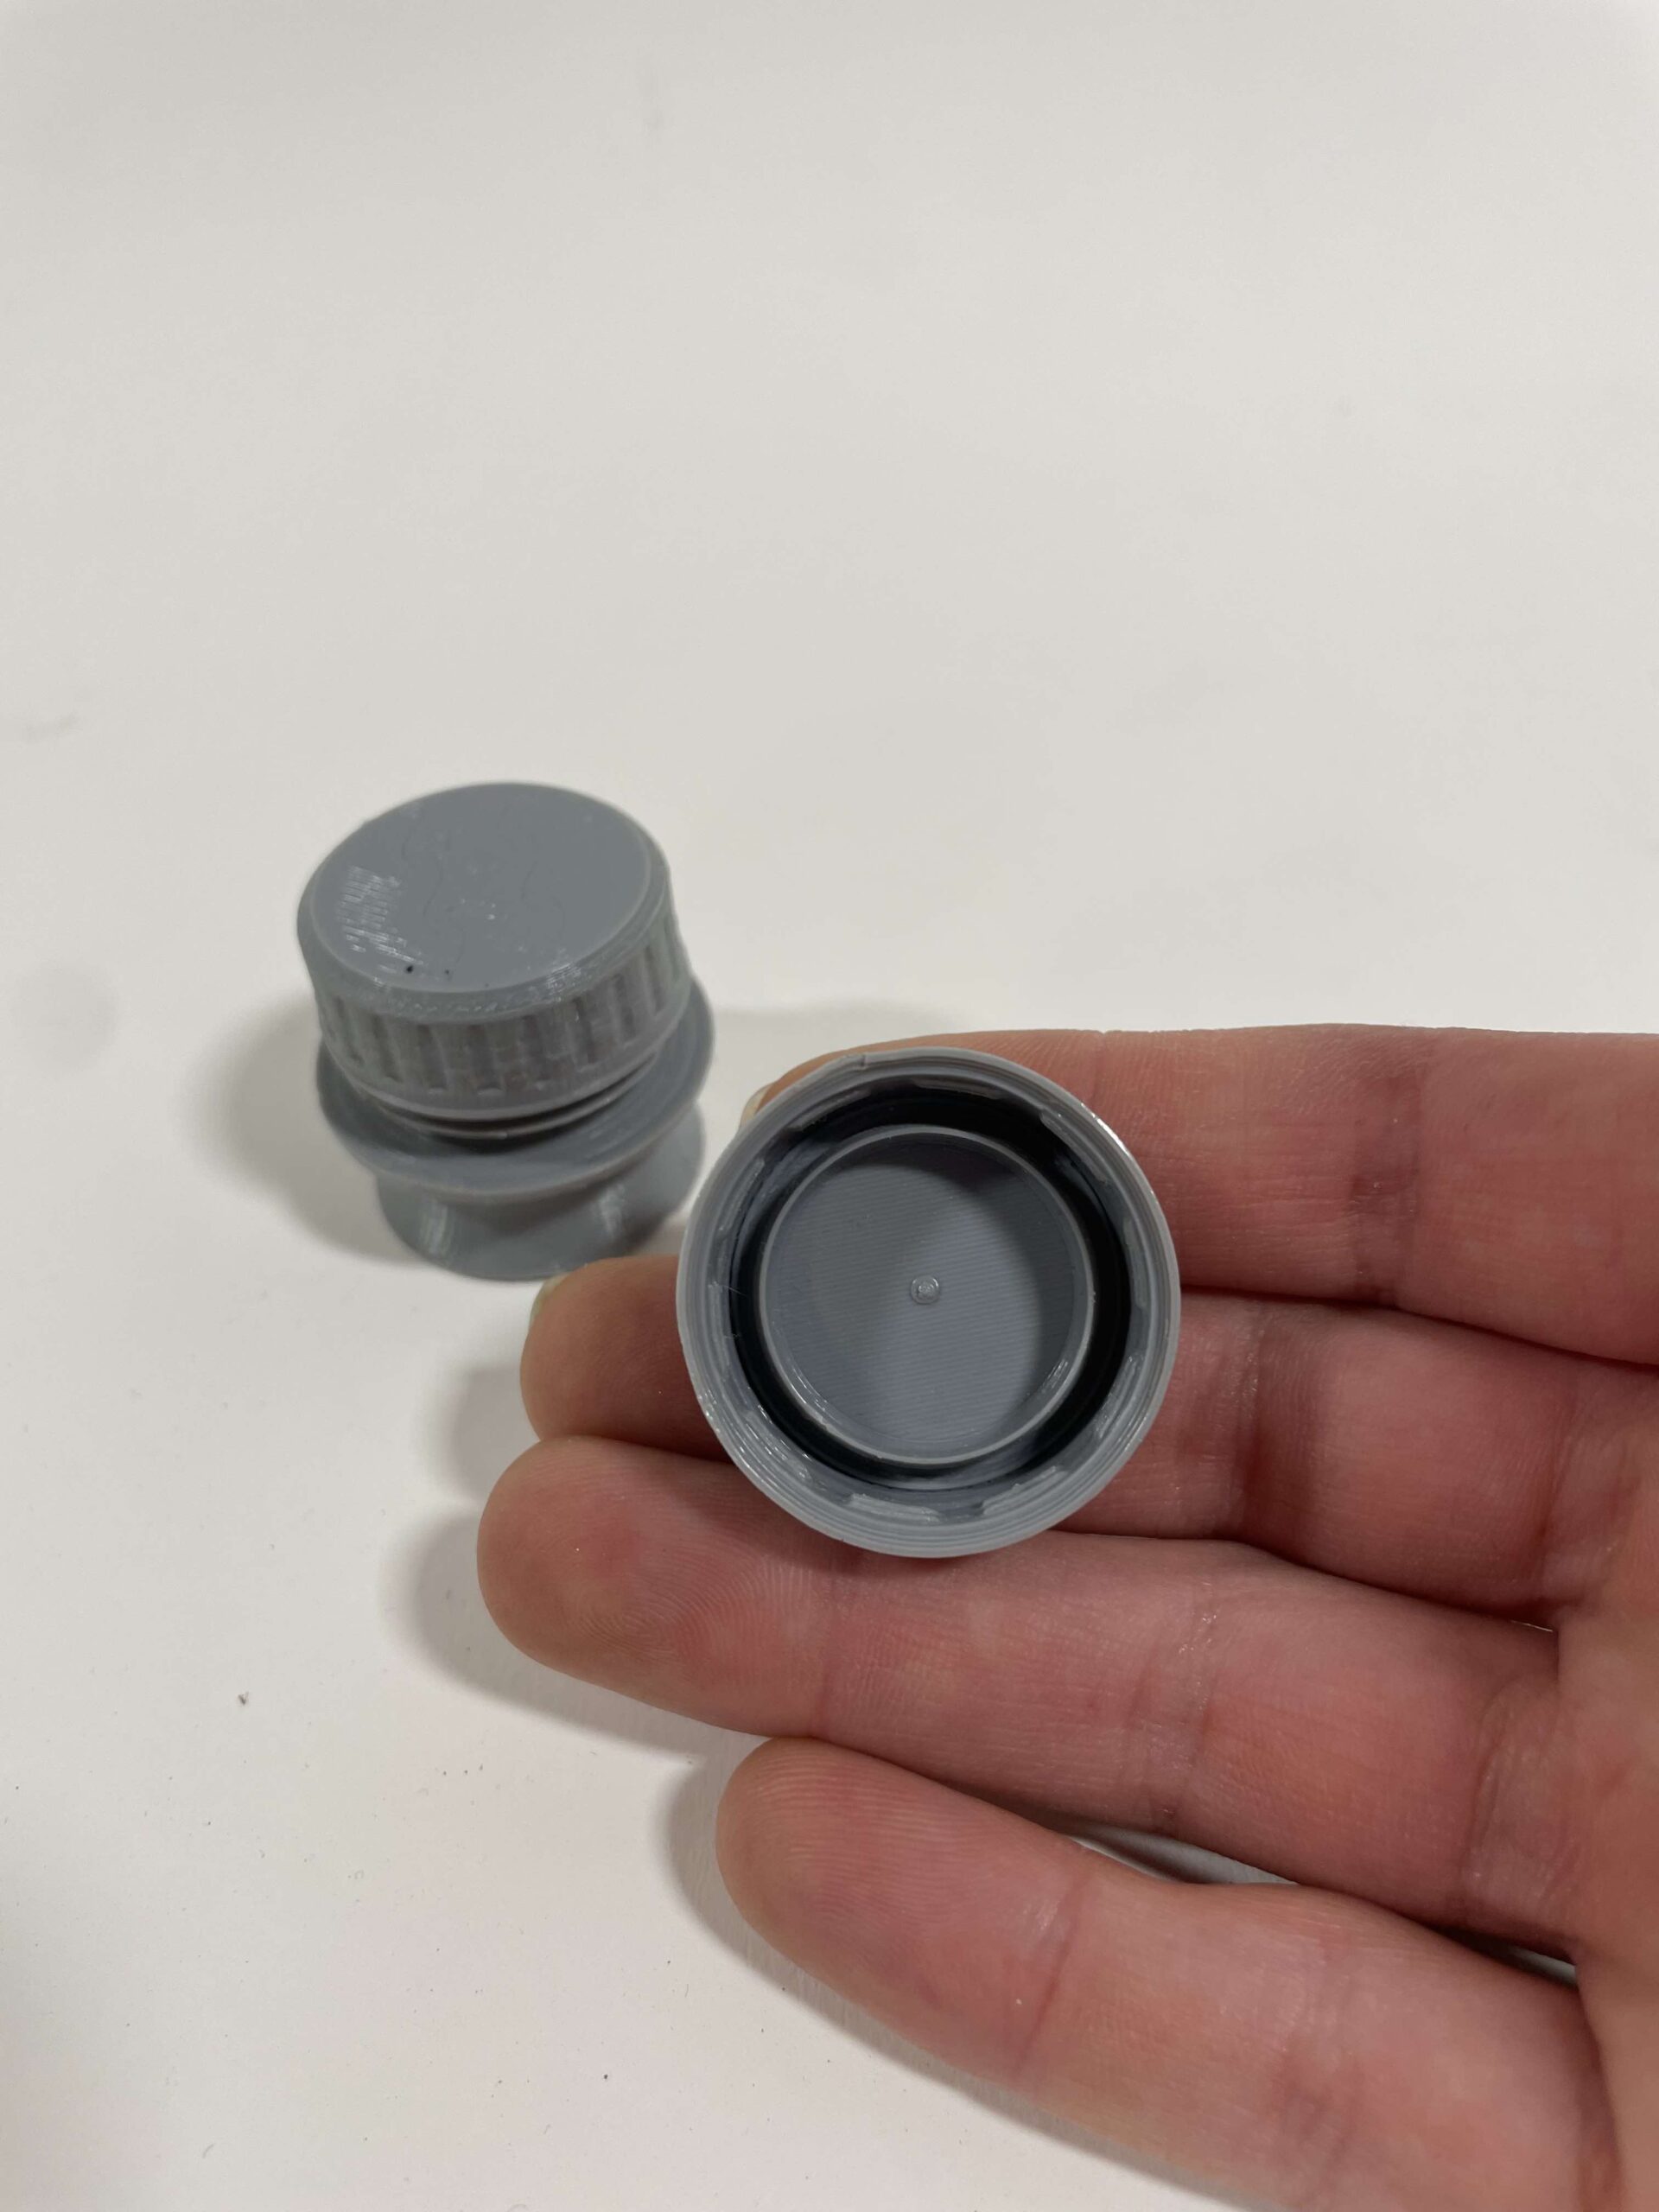
Making the Cap
The last circle pellicle was about a 1/4 in thick so I let it dry out on wood for a few days. I shaped it to the outside of my 3d printed water bottle cap and let it dry until it was 1/8 in thick. I took a brand new x acto blade and started to carve little rectangles all the way around the outside edge to simulate texture. A scalpel would have been a lot easier to use. Carving into the bacterial cellulose felt so much like I was carving into human muscle/skin, it was eerie and uncomfortable, but also very very lowkey satisfying.
Learn More
Instagram / TikTok / Website
@kateboyerstudio