
Harlow Robinson Green, ESJ, 2028
Project Overview
I decided to try to make a small mycelium box. This was the primary goal of the project and as I made it I thought about a couple different things. I thought about boxes in general and why one might be made out of living or temporary material. I thought about glory boxes and coffins. I decided if I found a dead bird before critique I would have a burial but I didn’t. I also didn’t get a good picture after it was baked.
Process
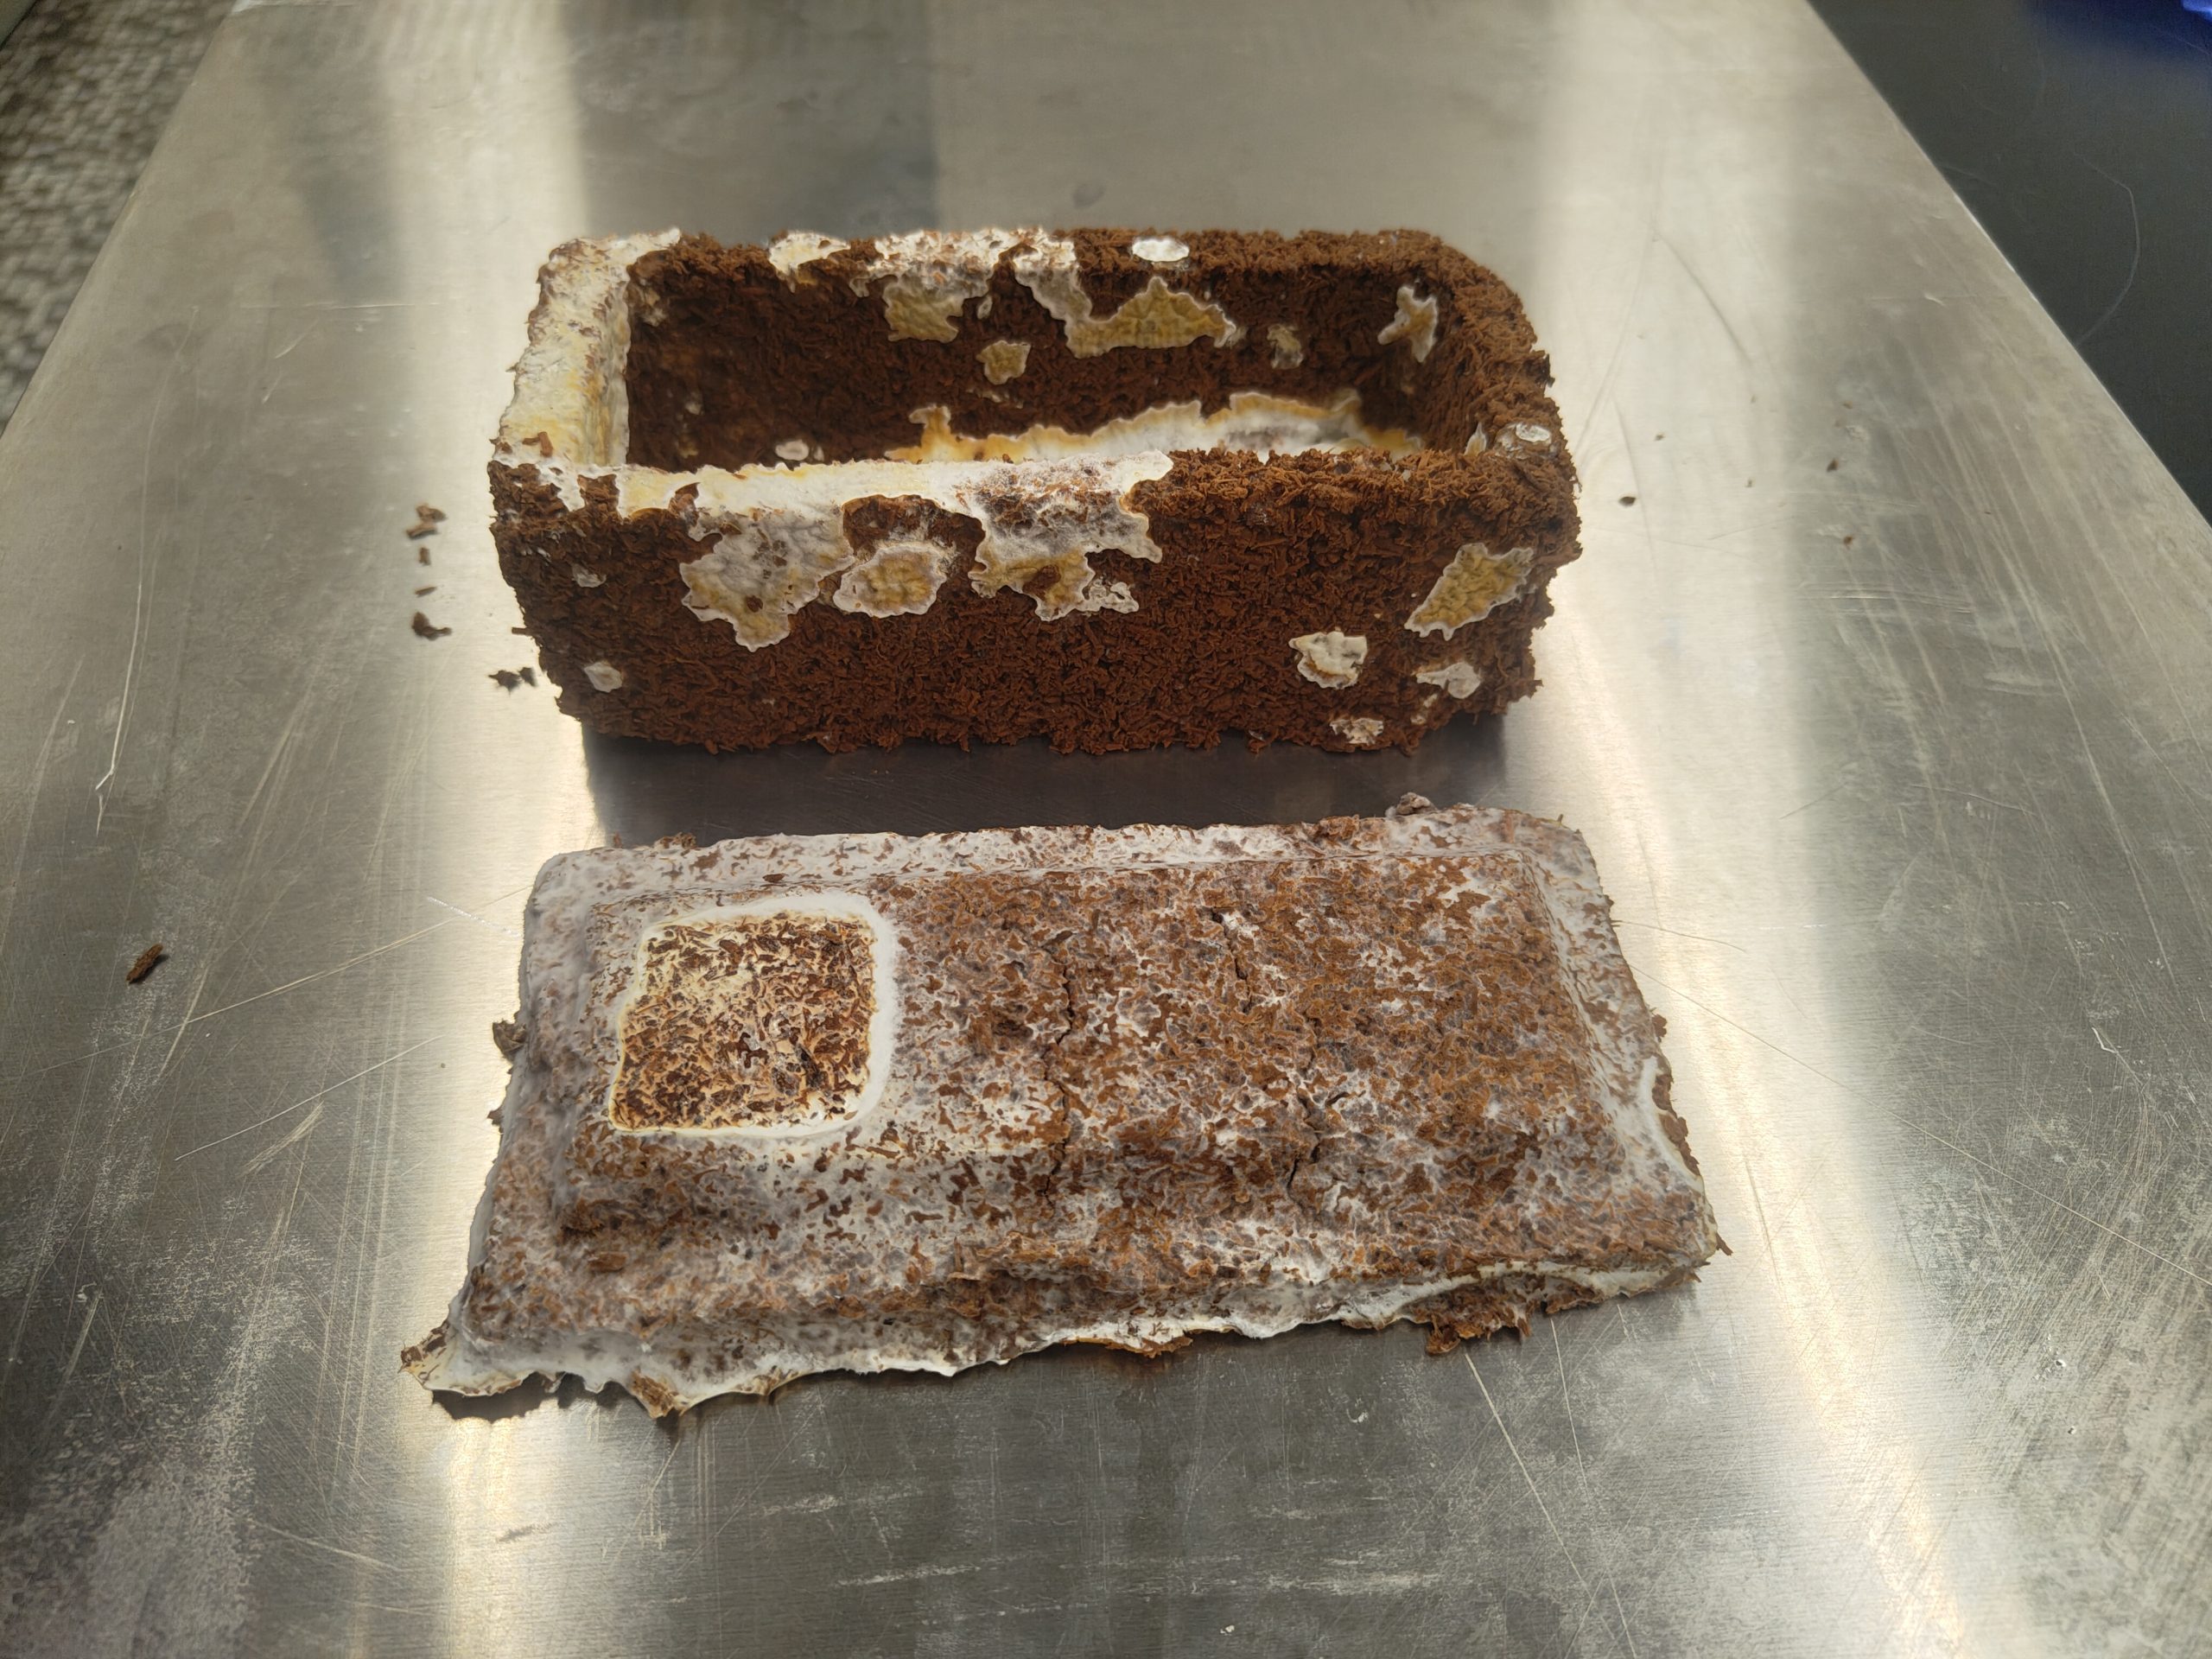
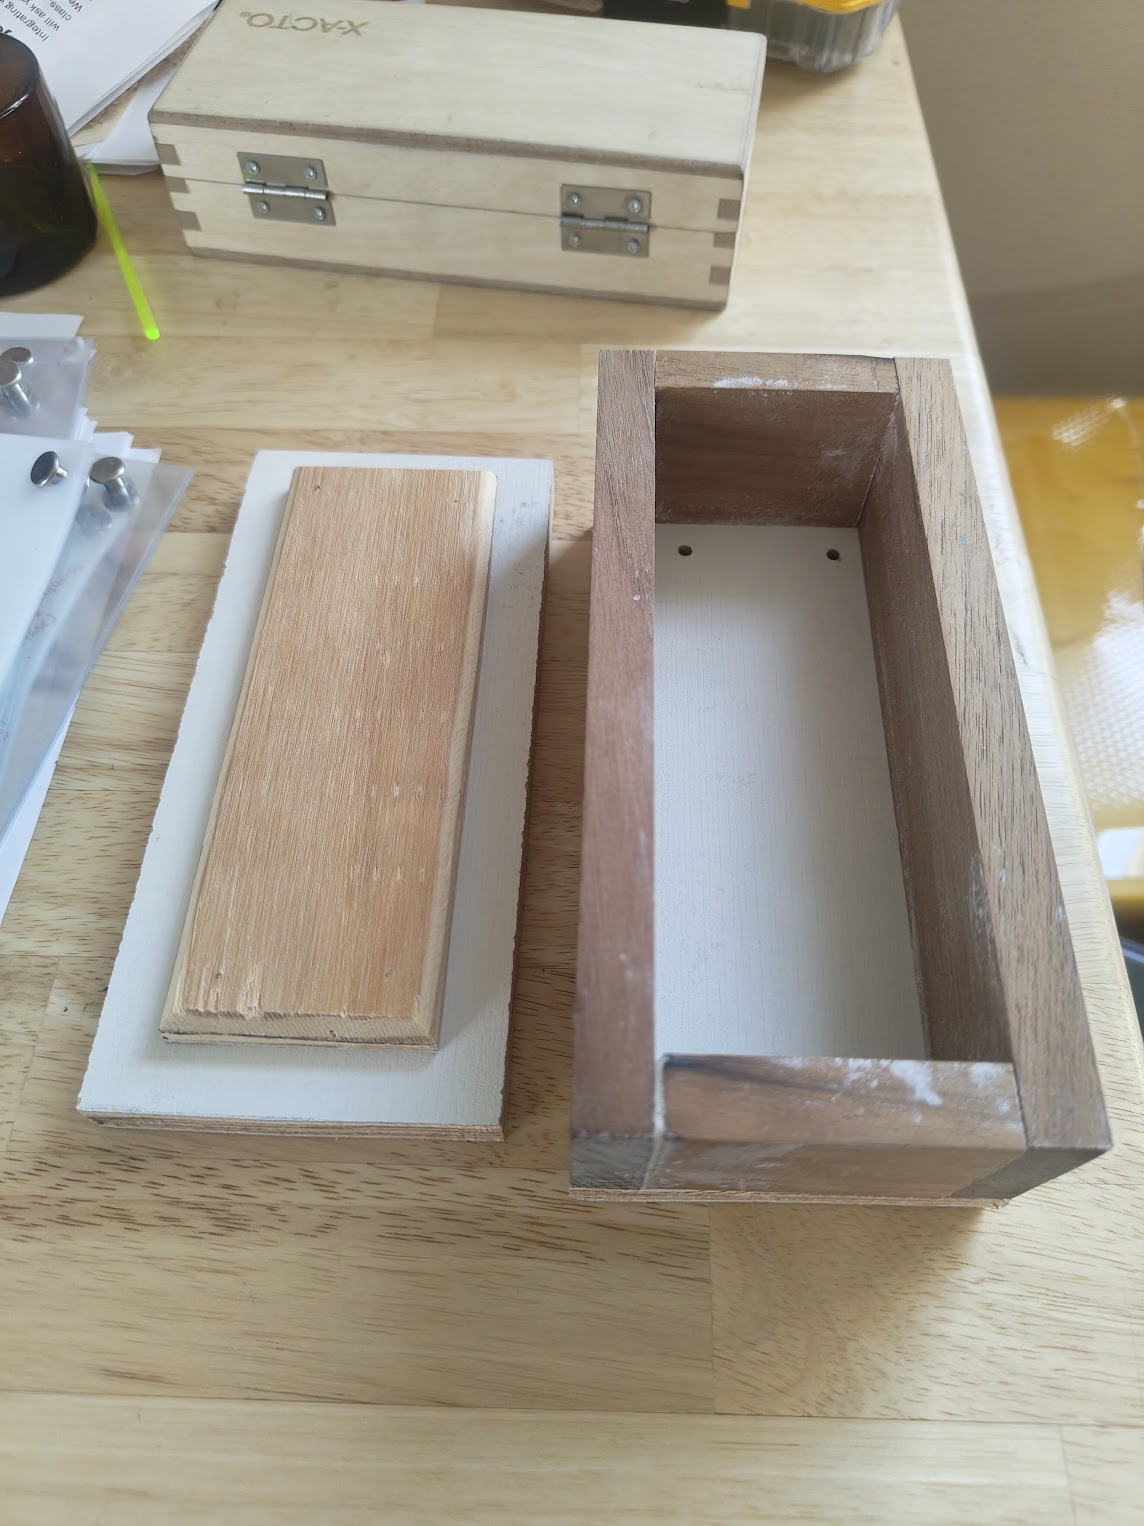
First, I made the box out of scrap wood. I brad nailed it together. Then I coated it in tapioca starch and made a plastic heat mold of it. This mold was difficult to remove from the plastic, but ultimately me and Rachel got it out. Then, with Mantis, we inoculated a large bag of wood chip substrate which we had hydrated and autoclaved. We had also added a starch solution for faster growth. We added 20% of the weight of the substrate of a culture of reishi. After two days, I filled the molds in the flow-hood, after UV sterilizing them. I sealed them in bags to grow over Thanksgiving break. After 12 days, I unmolded them under the flow-hood. Mantis and I had to destructively remove the molds, careful as not to break the undergrown mycelium. I resealed them in bags and they grew an additional 4 days. The pictures below are after 9 days of growth. After which, I baked them overnight in the incubator.
Learn More
SIDE BAR:
Follow these instructions, then delete this section.
In the right hand sidebar, click the “Post” tab to bring up setting for this post.
CATEGORIES: Confirm that the “Categories” are set to “Projects” and appropriate subcategory. Also make sure that the class name and the year are selected from the list of sub categories. Do not select “Class” or “Year” parent category.
TAGS: Add a few keywords specific to your project in the “tags” section.
FEATURED IMAGE: Set the “Featured Image” for this post; this will be what represents your project in the aggregate lists of projects on the site. It will also be the image in the banner of this post. It can be one of your “project overview” images, if you like.
EXCERPT: Write a one-sentence summary of this project for the “excerpt” field for this post by pasting in your 50 word project overview. This is the text that will appear in aggregate lists of project on the site.
LAYOUT: Lastly, confirm the the layout is set to “Custom” and “One Column: Wide.”