Finn Yencken, Interdisciplinary Sculpture 2023
Project Overview
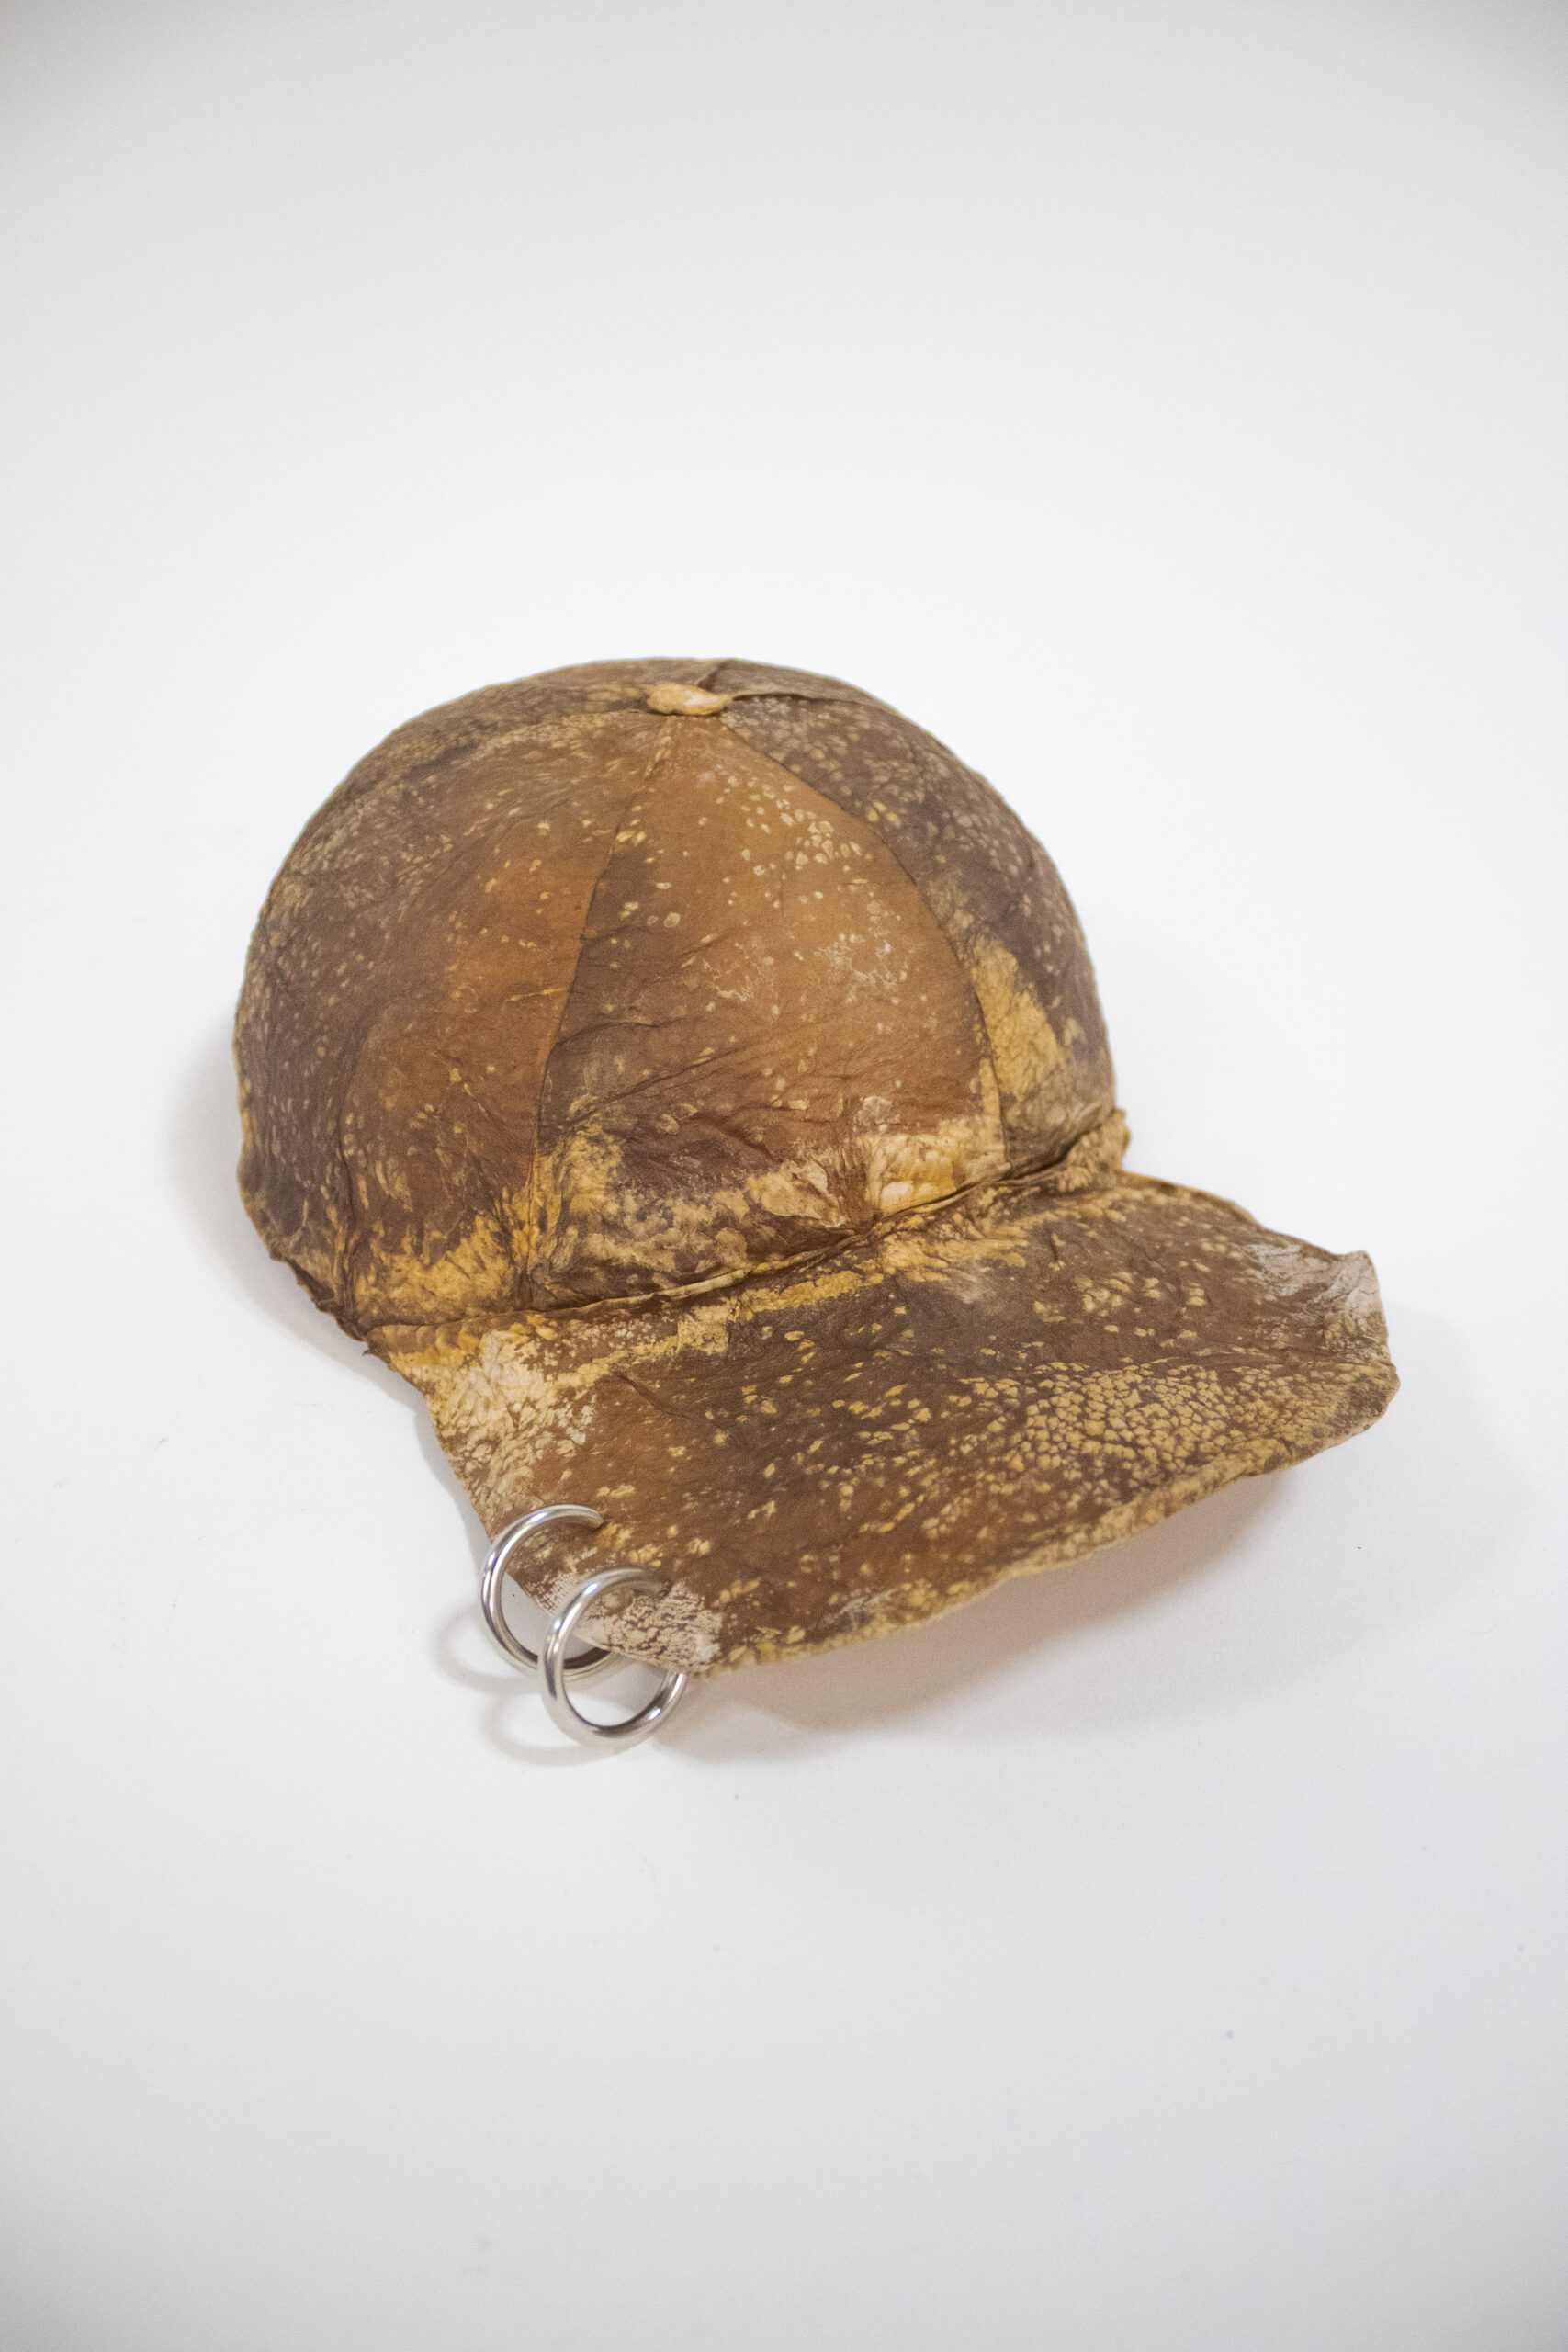
I made this hat out of bacterial cellulose as a way to think about our relationships with materials and everyday objects. The baseball cap is an iconic symbol of sport and leisure that has become a part of everyday life. They are often souvenirs or reminders of places we have been and for some people become part of identity. By growing this object out of bacterial cellulose, I envision a more intimate relationship with everyday objects that are otherwise mass-produced and made with synthetic materials.


Process
I started this process by growing the G Hansenii bacteria. First I mixed media, ensuring to keep the glucose separate from the rest of the mixture while autoclaving in order to prevent the occurrence of the Maillard reaction in the media. I then sanitized a large plastic tub by spraying it with isopropyl alcohol and sticking under a UV light since it was too large to fit in our autoclave. The plastic tubs are fitted with inlet and outlet hoses, to which I attached filters in order to allow air circulation without contaminating the media.
After the tub was sanitized and the media was prepared, I added the media to the tub and then added the G. Hansenni culture. I then stuck it in the incubator and attached the inlet hose to an air pump. Then I waited a few weeks to harvest.
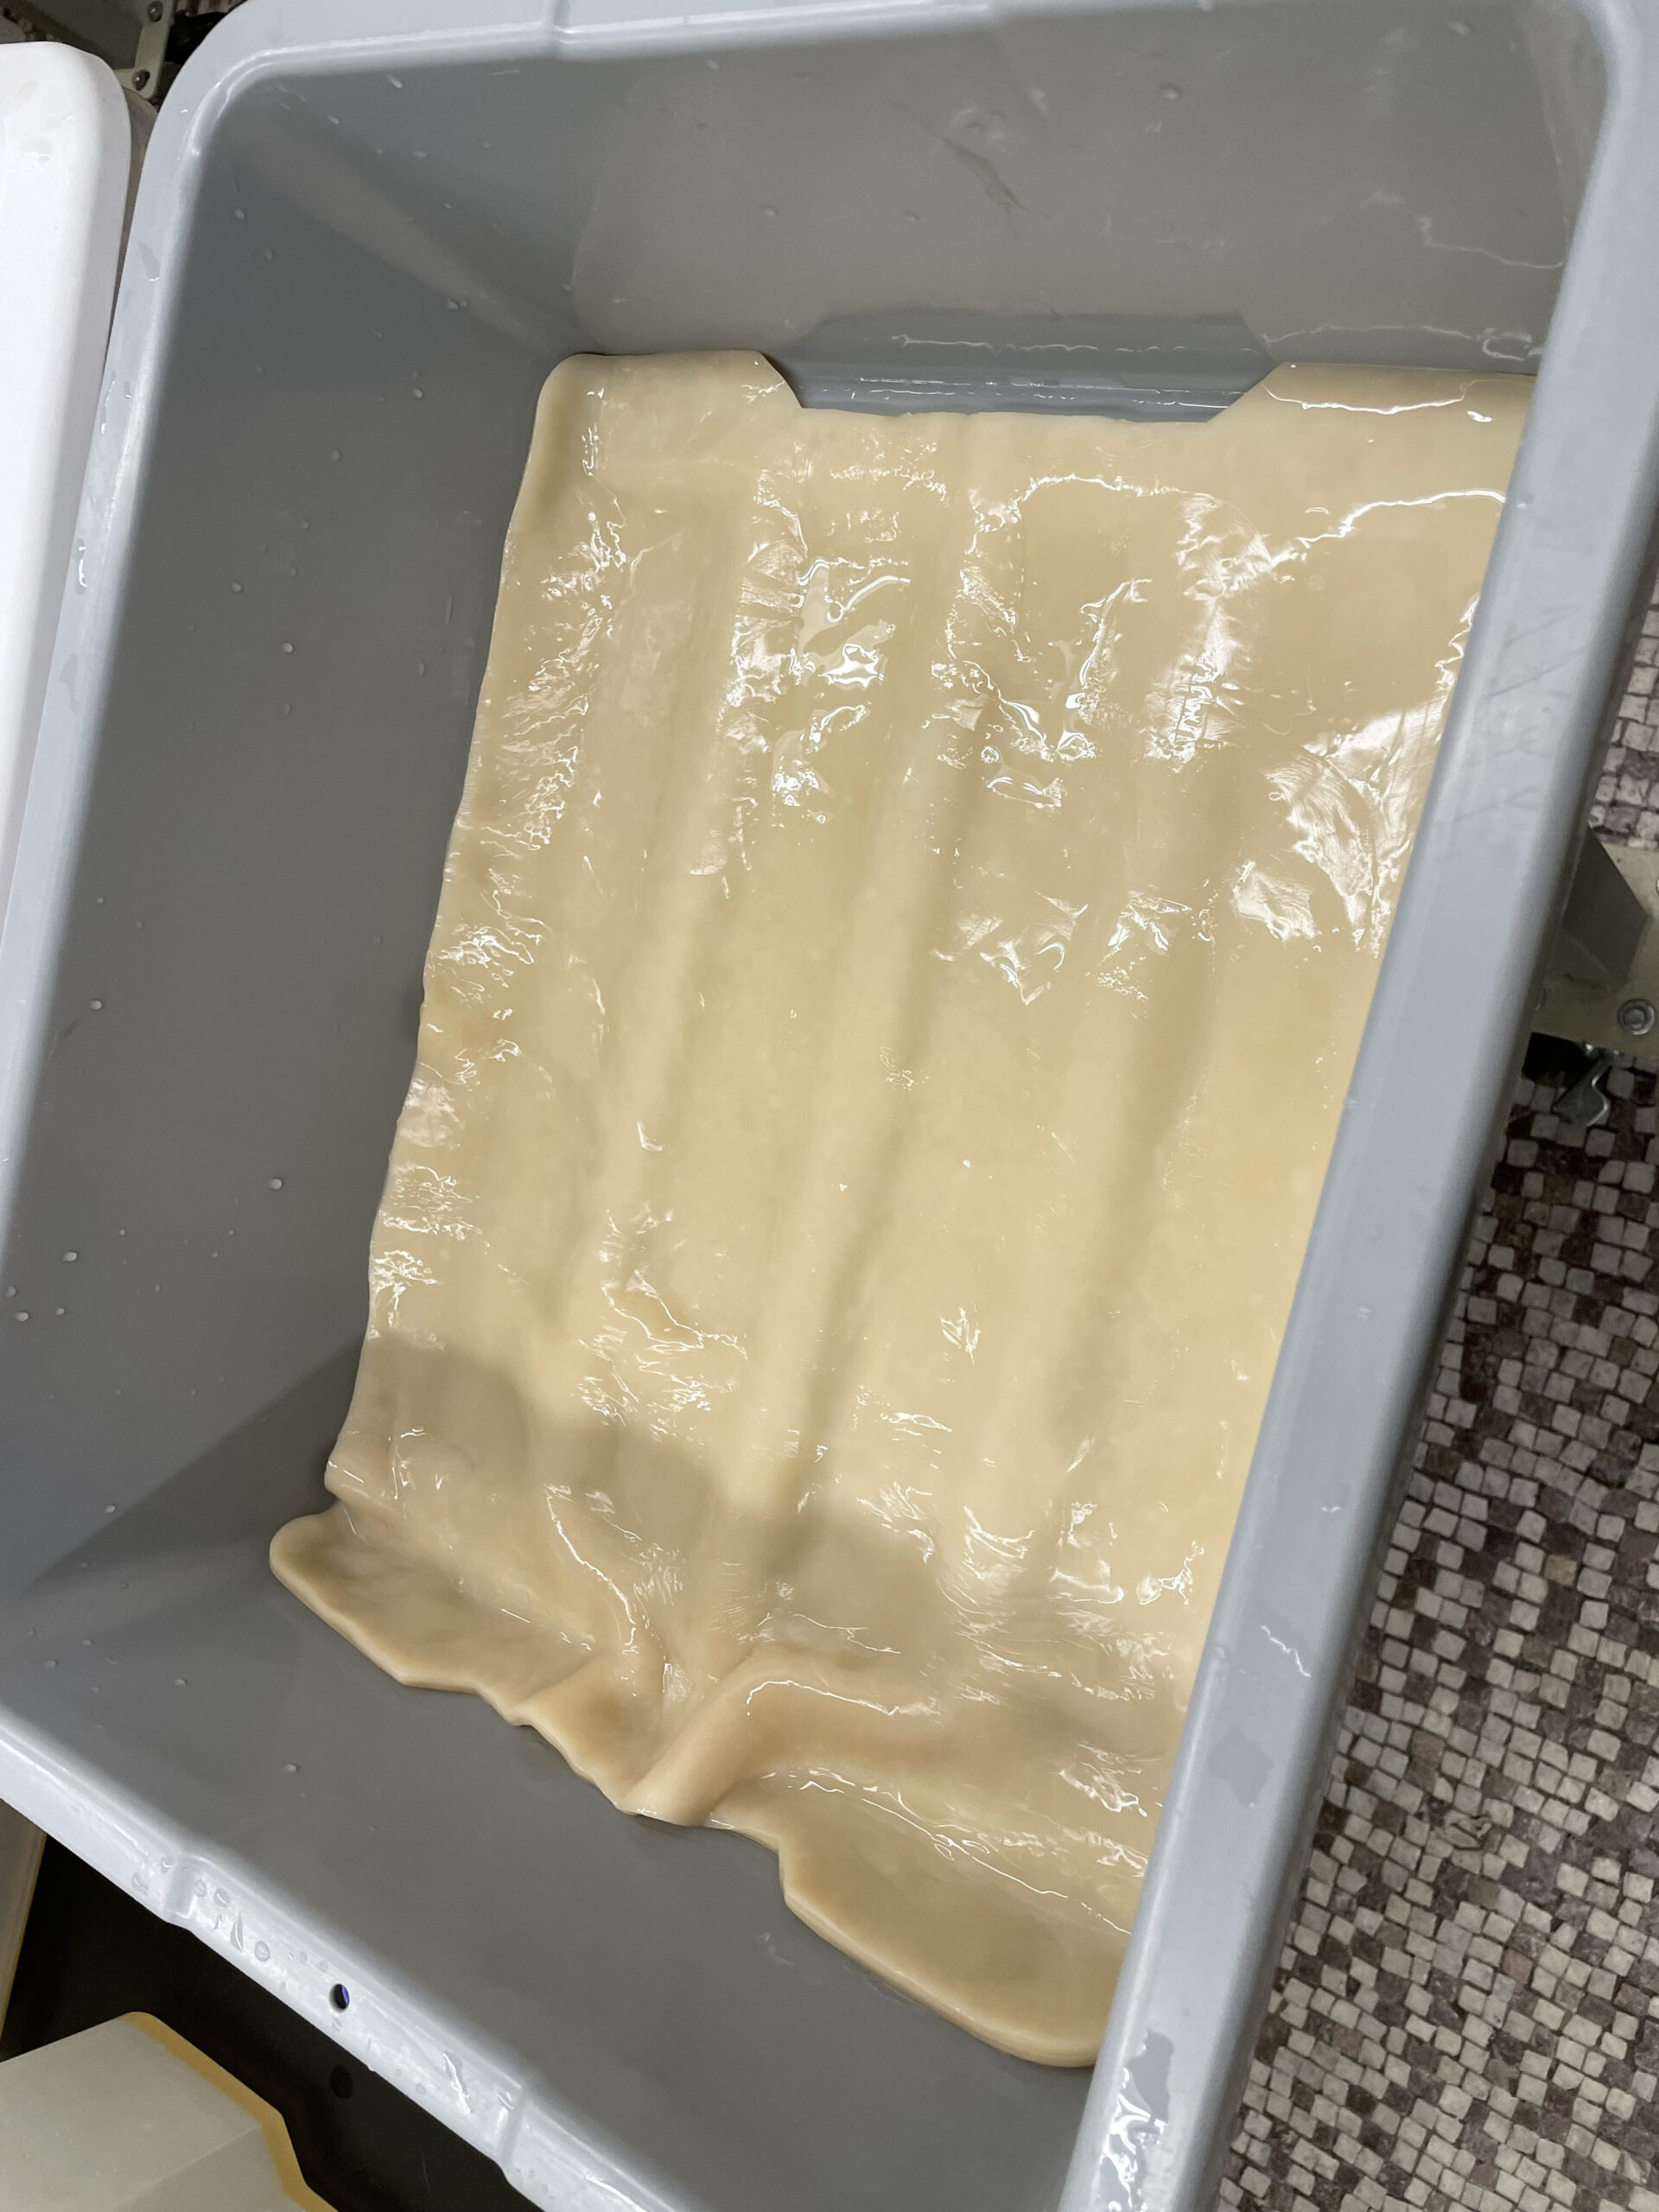
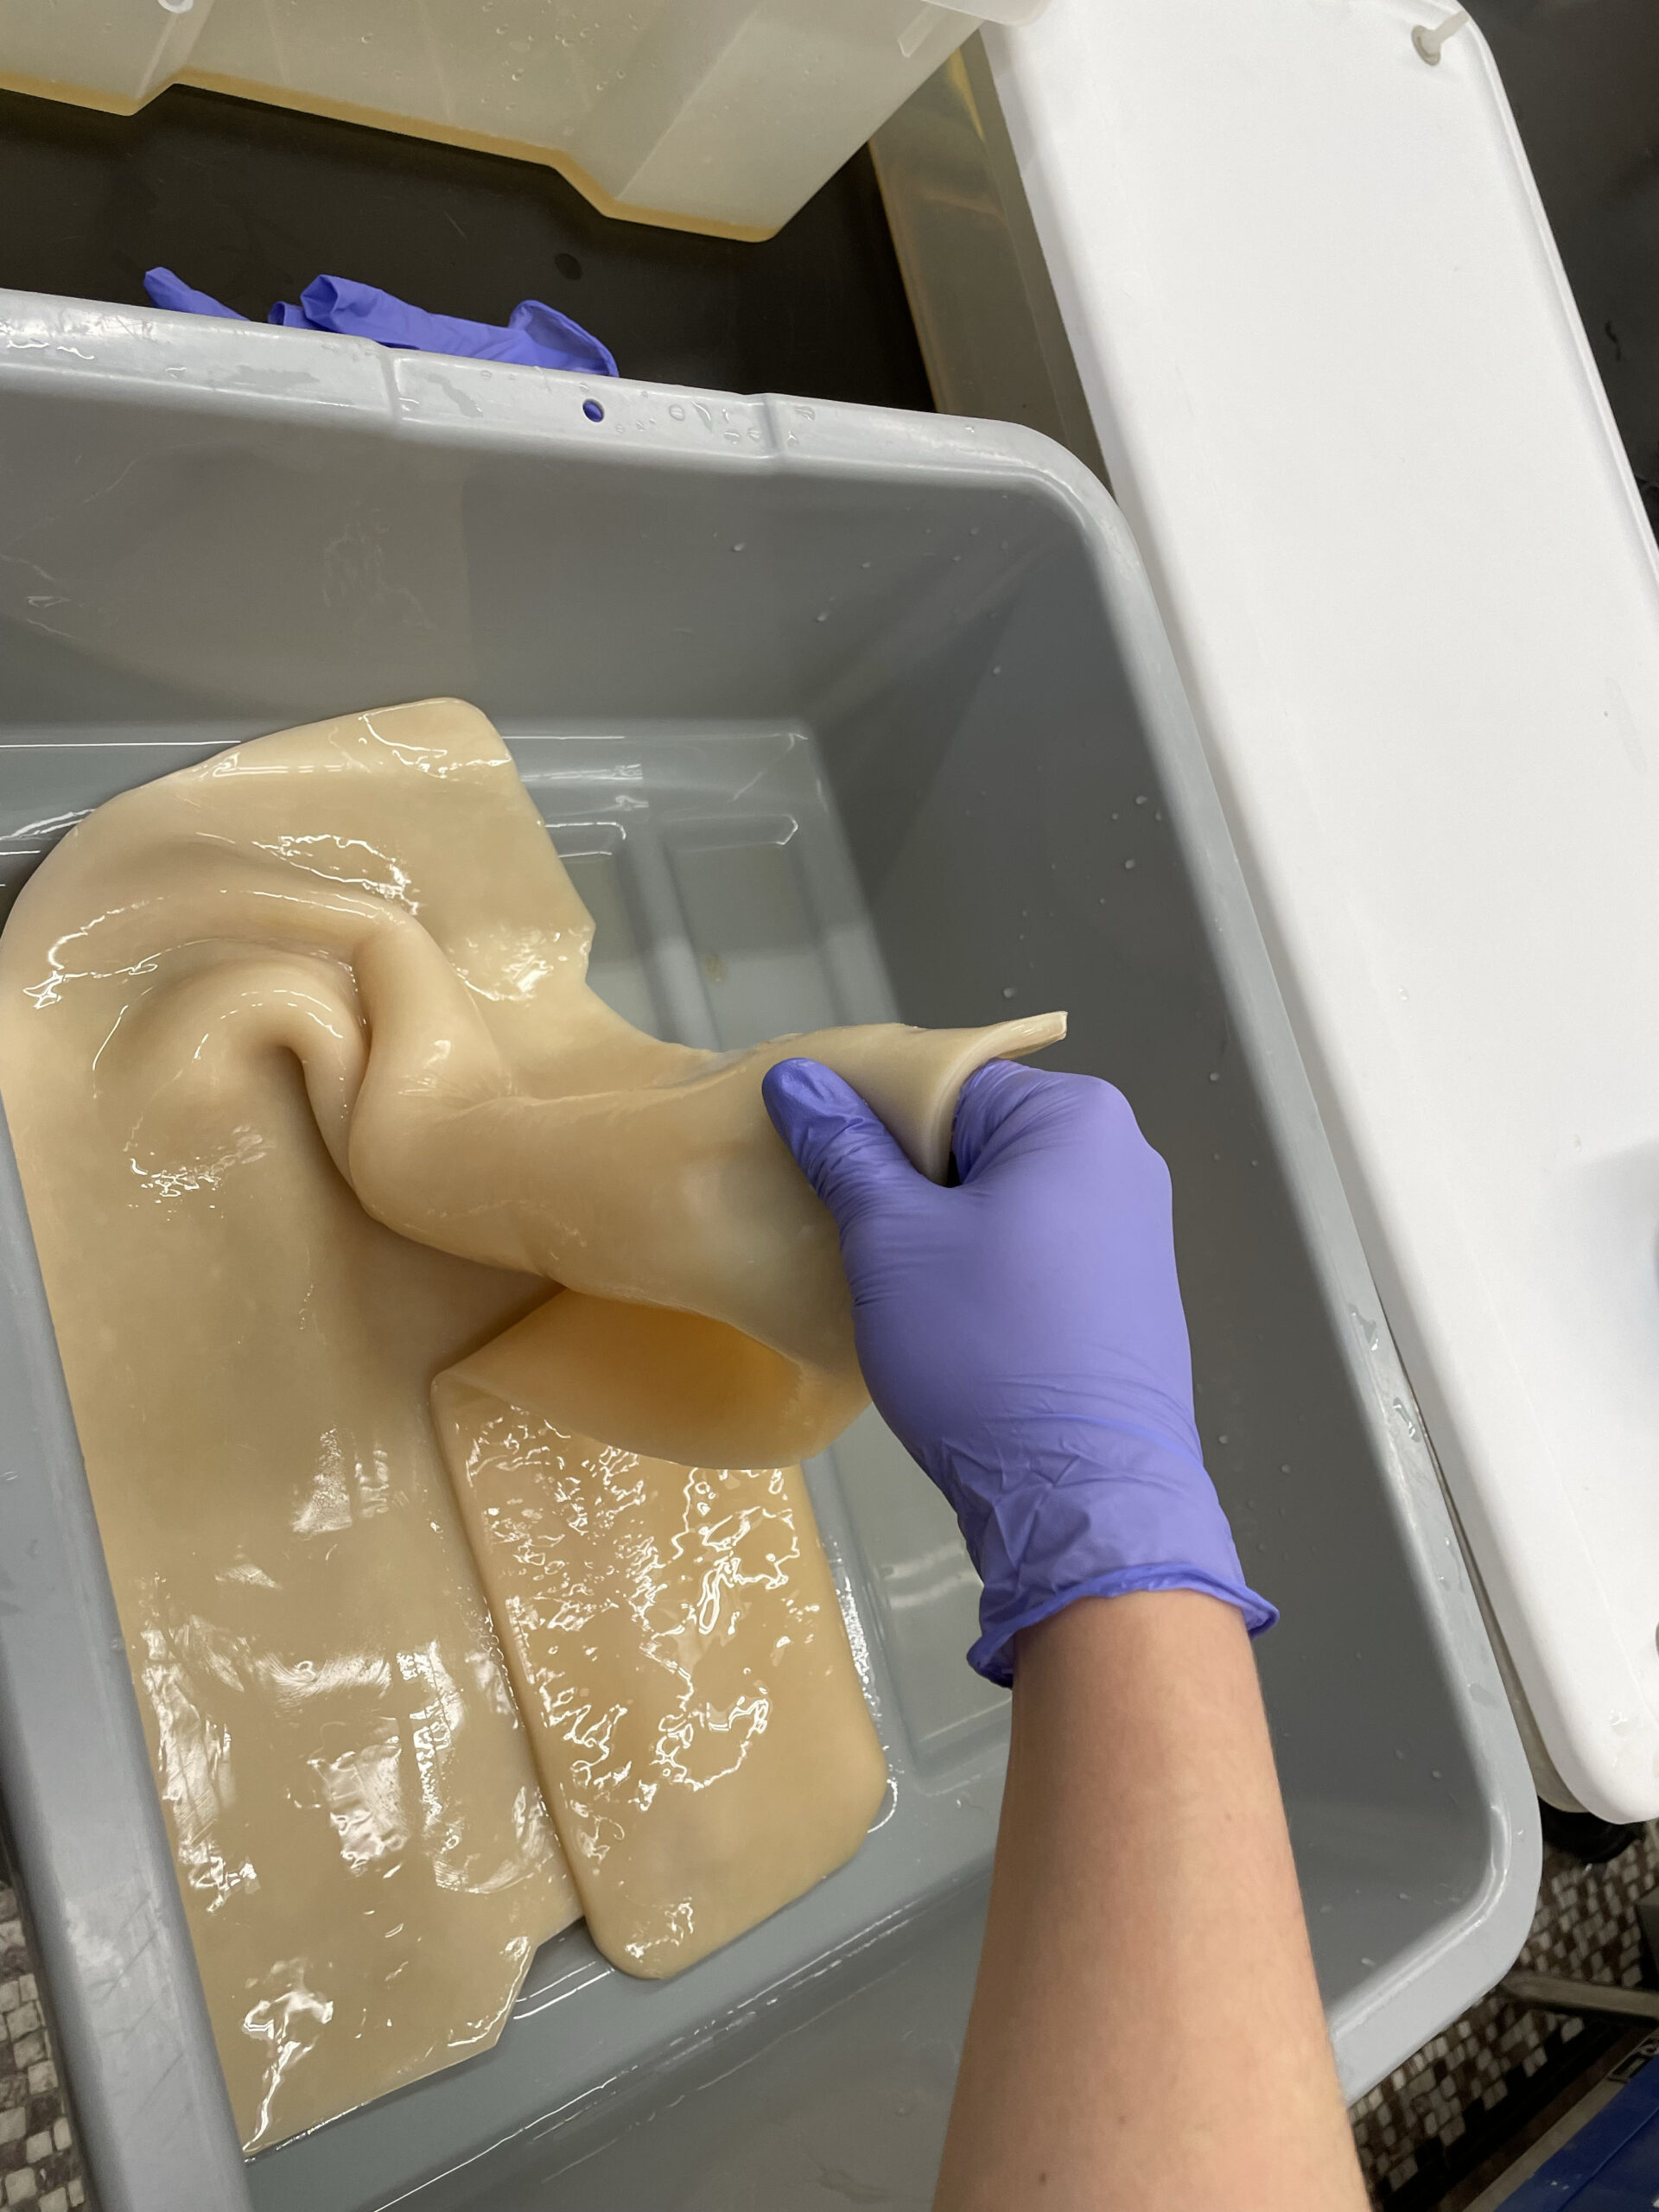
Since my pellicle grew very well without any mold issues, I decided to reuse my media to grow another. I sprayed my gloved hands with alcohol and took the pellicle out. In hindsight, I should have used autoclaved tools to remove the pellicle since my media became contaminated after this.
After harvesting the pellicle, I went through the process of cleaning it. First, I rinsed the pellicle and put it in a water bath. After 24 hours I changed the water and left it for another 24 hours. I then carefully transferred the pellicle to an NaOH bath, to fully sanitize and ensure any bacteria and contamination was removed. After 2 days in the NaOH bath, I transferred it to another water bath, rinsing and changing the water again after 24 hours. After the cleaning process, my pellicle was bright white, and ready to be dyed.
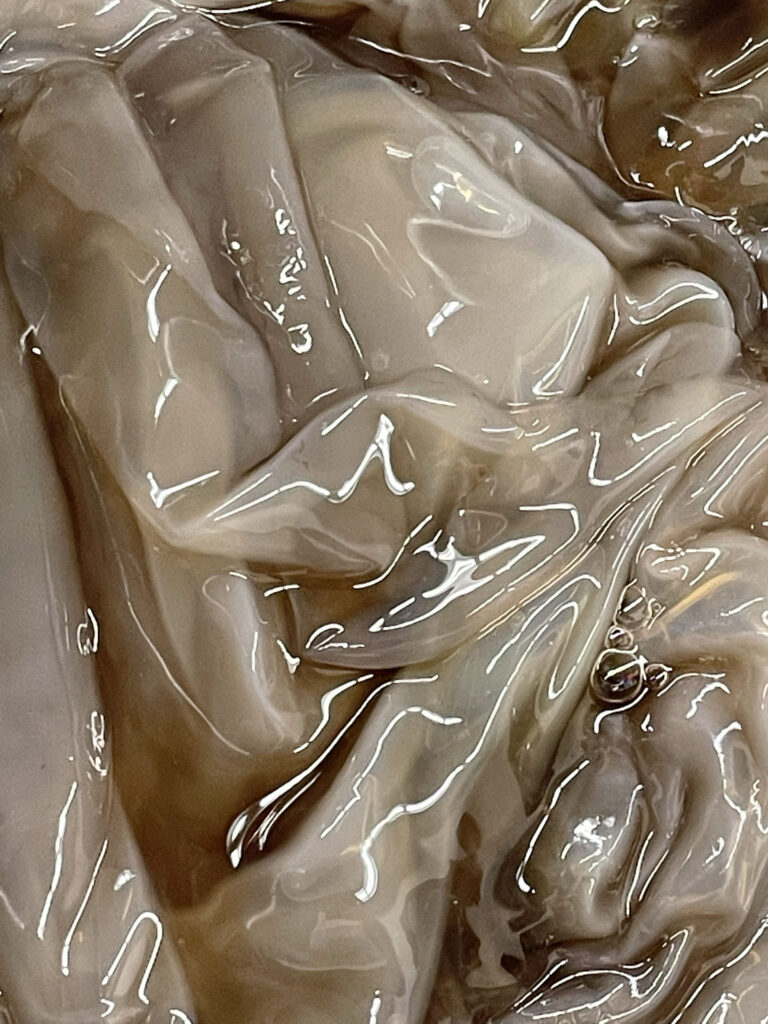
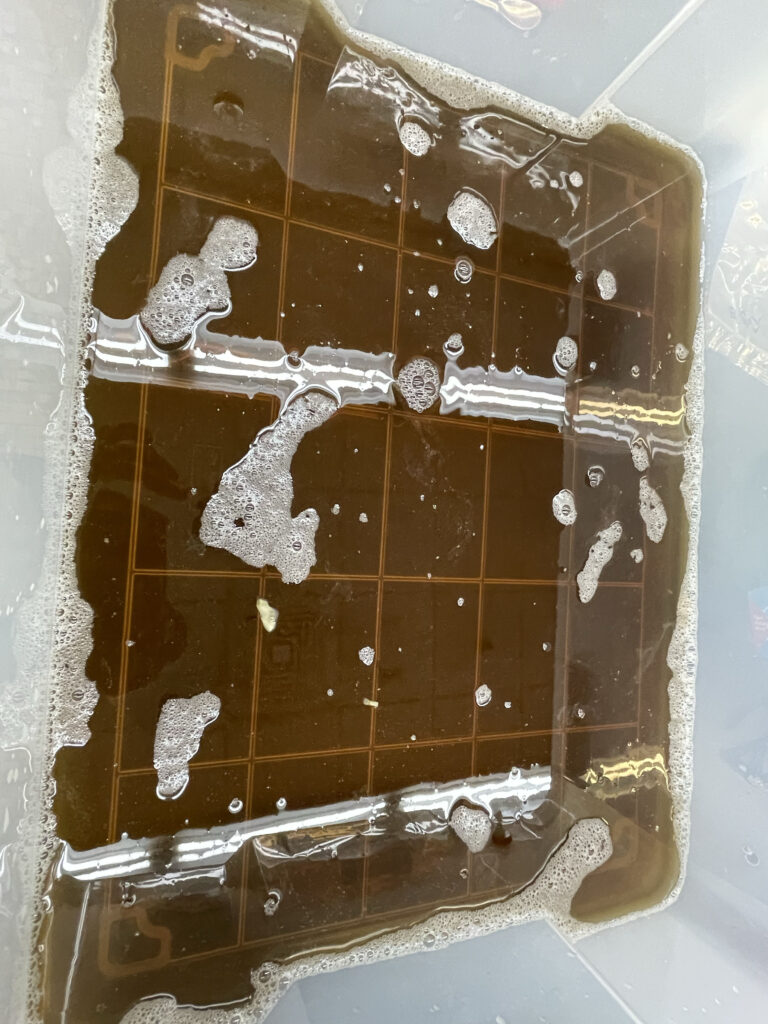
Maddie helped me dye the pellicle with Jacquard MX dye that is formulated for cellulose fibers. I used a combination of brown and orange dye, using 2 whole jars. Soda ash and salt is added to the mixture, and it looks like the salt crystallized on the surface. After dyeing, the pellicle was leeching a lot of color despite rinsing it repeatedly. However, once it was dry, this was no longer an issue. Rewetting the material would likely cause it to bleed color.
After dyeing the pellicle, it was time to make my pattern. I 3D printed a hat shape to lay the pieces onto. I then made a paper pattern for the triangle pieces and traced it onto the pellicle. I had let the pellicle partially dry until it was the texture of a damp fruit roll up. I cut the pieces out and lay them onto the 3D printed mold, pressing the pieces together at the seams.
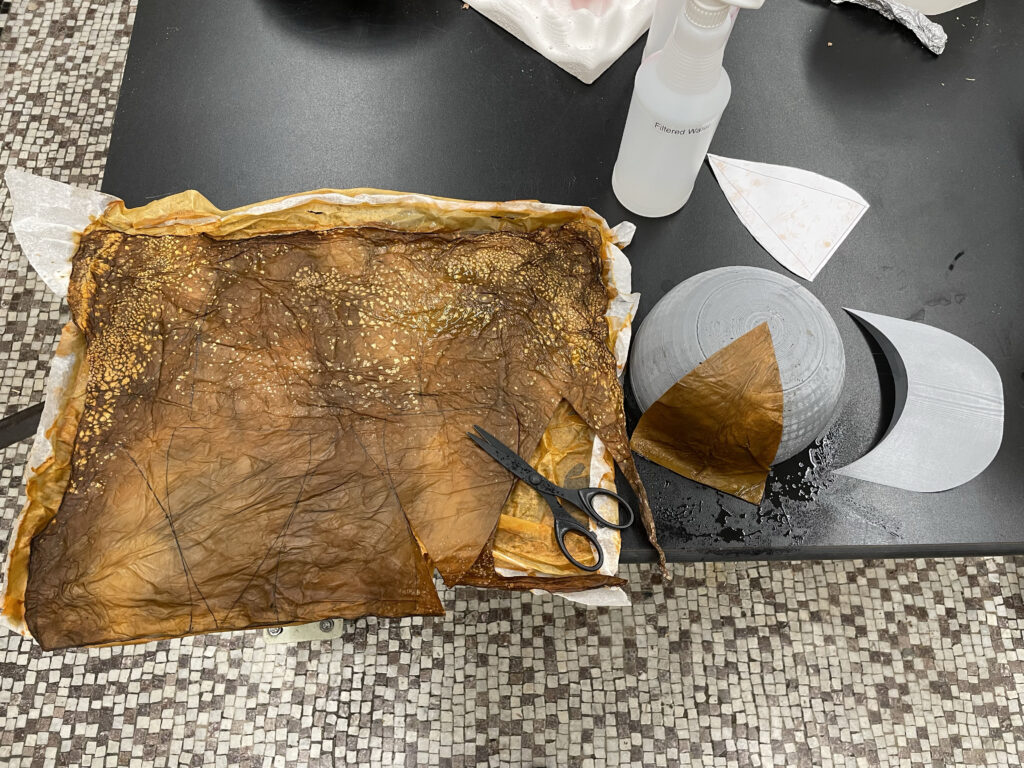
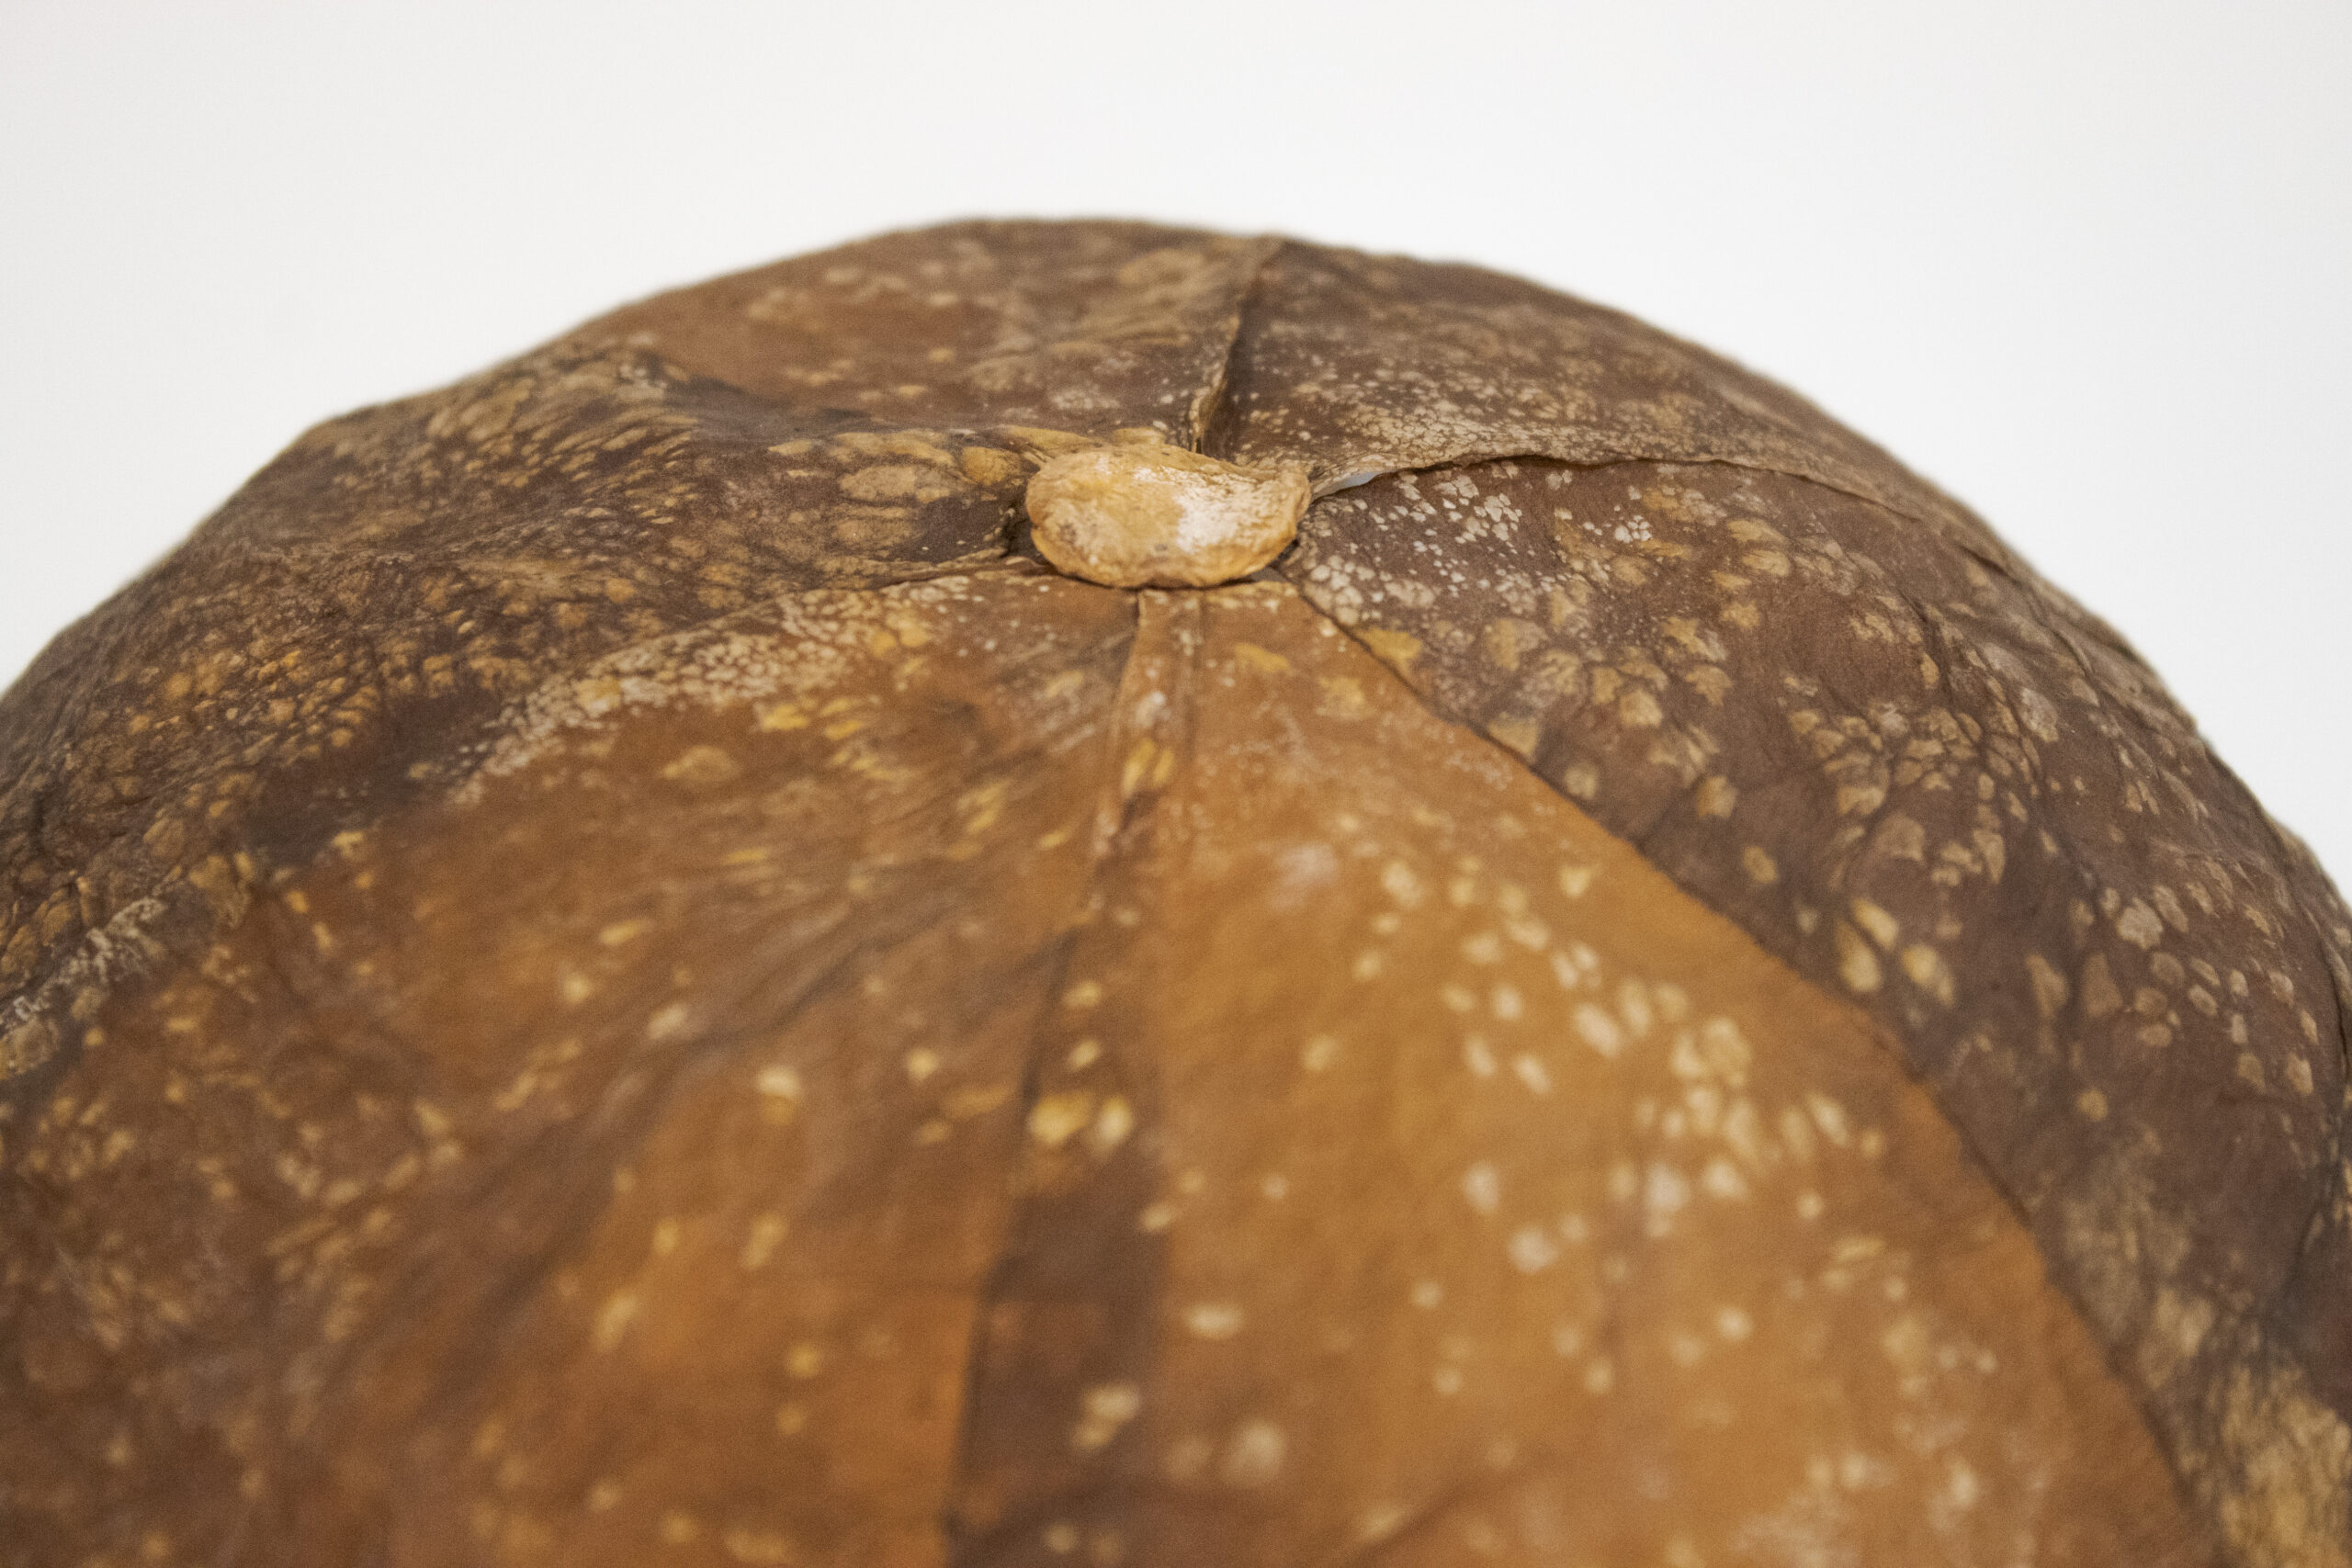
To make the button on top, I laminated a bunch of pieces of pellicle to give it a 3-dimensional shape. Some pieces had dried more than others, so I sprayed them with water as needed.
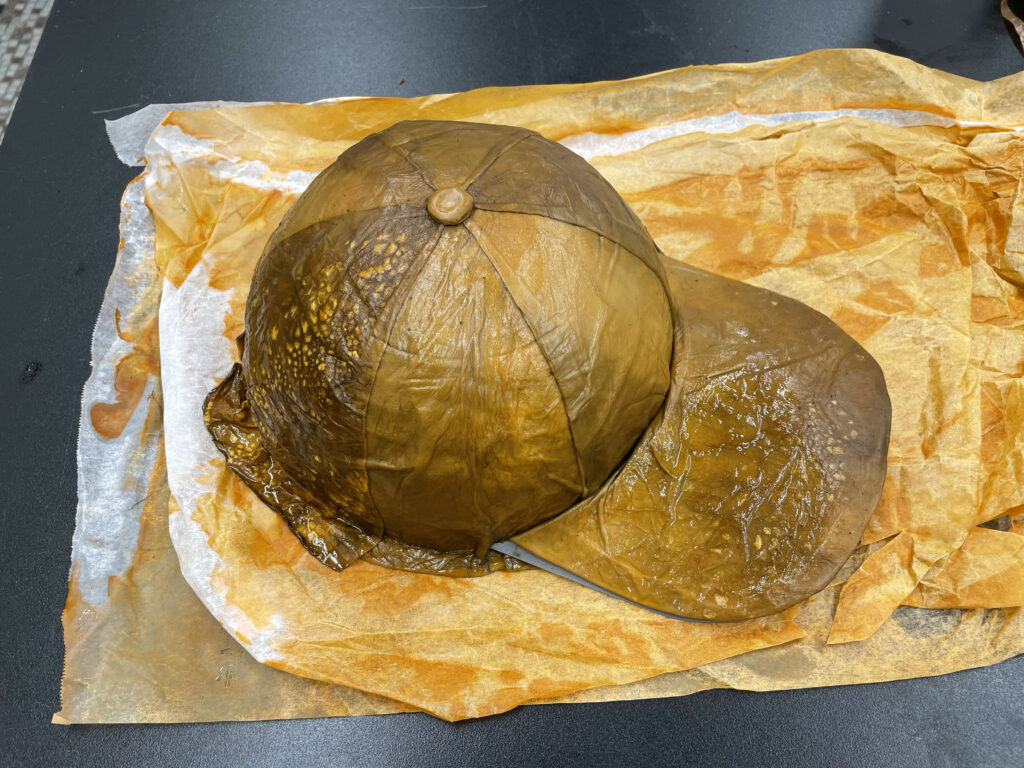
The final product stuck together and held its shape surprisingly well! I would recommend sewing panels together or using some kind of glue for more durable pieces. It is relatively fragile and wouldn’t last long being used like a regular hat.
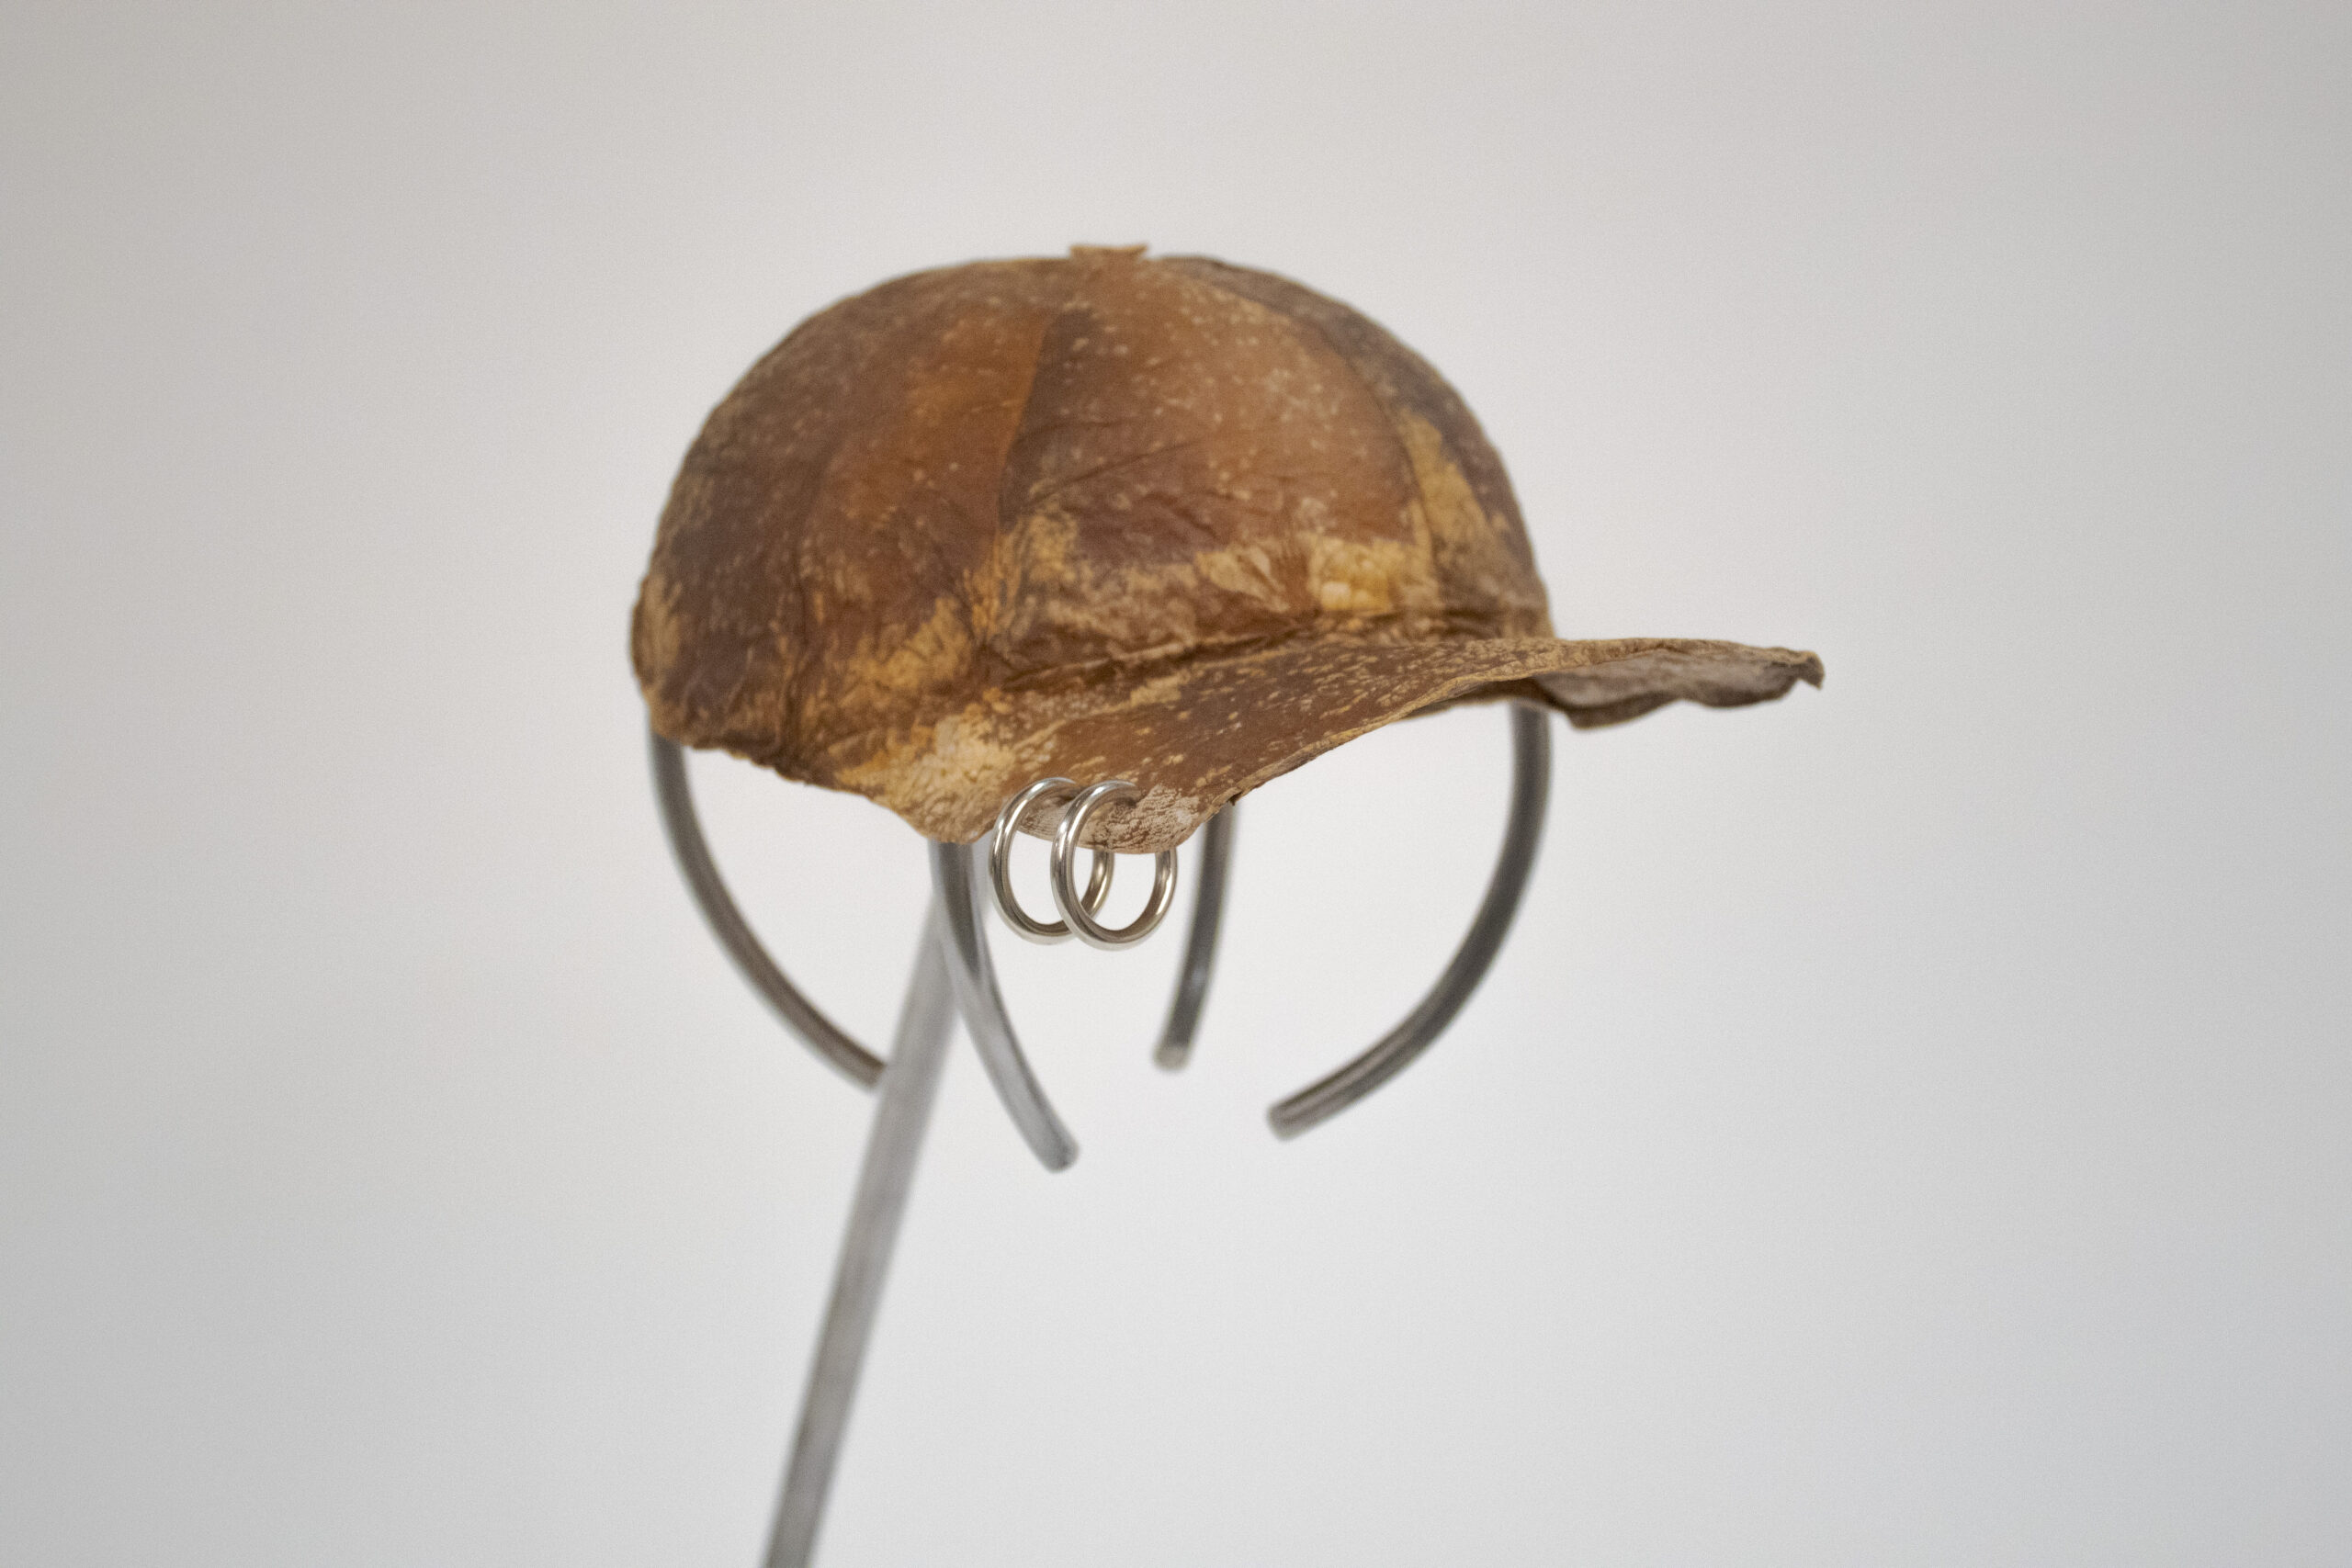
For the final product, I fabricated a steel stand.
Learn More
I was inspired by the work of Suzanne Lee, who makes wearables from bacterial cellulose.
If you have any questions about this work, feel free to email me at finnleyyencken@gmail.com